With Mailster, you get a powerful way to automate your email marketing. Email marketing automation can help businesses streamline communication, personalize messaging, and improve customer engagement through automated workflows and targeted campaigns.
Steps
Automation in Mailster always contains at least two parts:
- Triggers
- Actions
Furthermore, you can have
- Emails
- Delays
- Jumpers
- Notifications
- Conditions
- Comments
Triggers
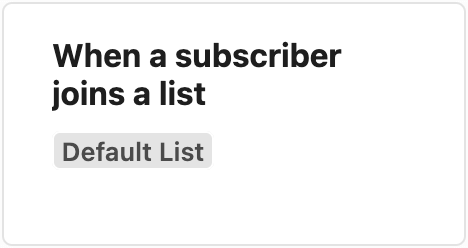
Triggers define how to start a workflow in Mailster. There are various triggers available. Read more about triggers for your email marketing in our article about Workflow Triggers.
Actions
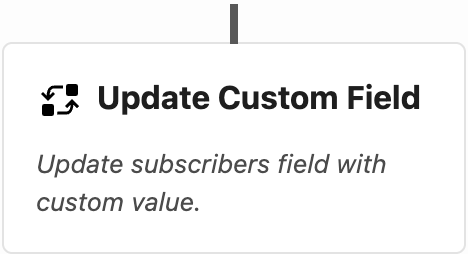
Actions are performed on a defined step in your Workflow. Mailster offers various actions you can use. Read more about action for your email marketing in our article about Workflow Action.
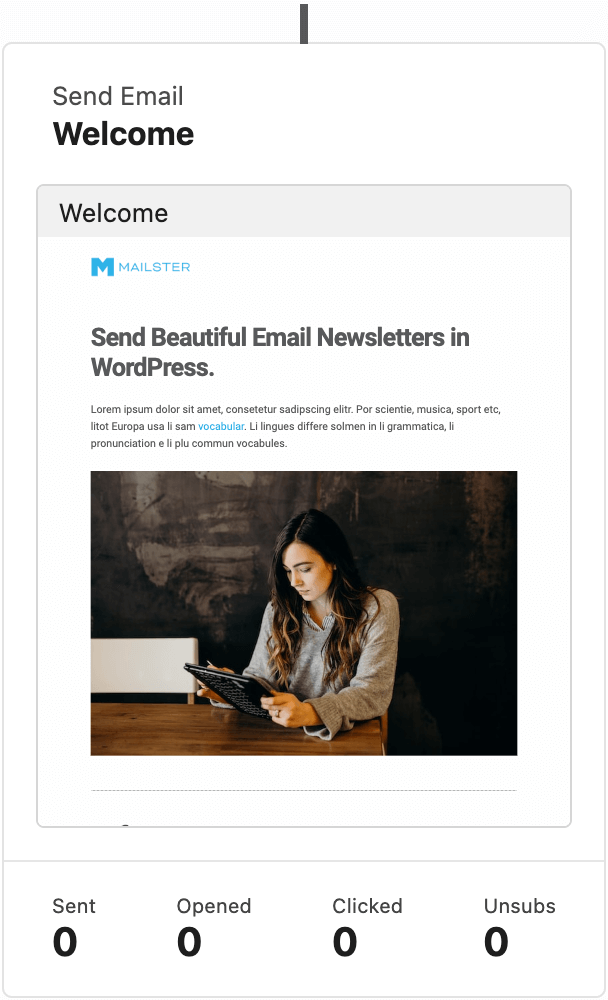
Email steps within a workflow serve the purpose of sending emails to your subscribers. These steps are designed to accommodate a specially crafted “Workflow” campaign, which can be created just like any other regular campaign.
Along with the ability to send emails, these steps also provide concise statistics on important metrics such as opens, clicks, and unsubscribes.
However, for more in-depth analysis and detailed insights, it is advisable to directly access the campaign itself.
Usually, emails use the data from the campaign but you can overwrite the subject, the from address, from the email as well as the preheader for each step individually.
Delay
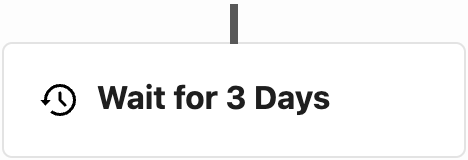
A delay adds a break to your workflow. This is useful if you would like to continue the workflow at a later point in time or if you would like to continue the workflow on a certain day.
Jumper
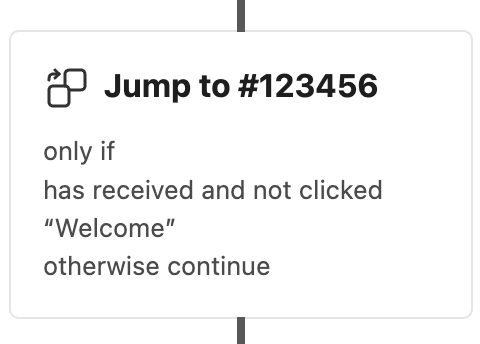
A Jumper lets you either skip one or more steps or jump to a previous step in your workflow. This is useful if you like to run a condition multiple times before continuing with the journey.
You can also use it during testing your workflow to not finish it accidentally.
Notifications
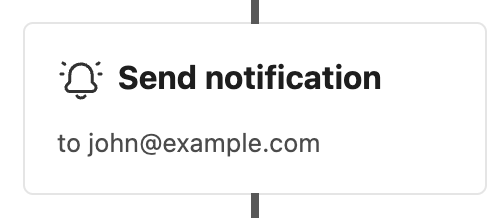
A Notification lets you send a single email to a defined address at the step. It’s not like the Email Step but instead just a notification to inform someone by email, that a certain step in the workflow has been reached.
You can define the receiver’s email address, the subject, and the message of the email. Furthermore, you can use tags in the subject line from the current subscriber, to customize the message.
Conditions

Conditions help you to split the path of your workflow depending on the condition. You can use this for instance, if a customer clicks a link in one of the campaigns before. Make sure you add some delay before this step.
Comments

There’s a dedicated comment block you can use to comment on your workflow and give you a better understanding of yourself or your co-workers.
Comment blocks do not affect the workflow.
Create a new workflow
Depending on your plan, you have a limit on the amount of active automation you can create.
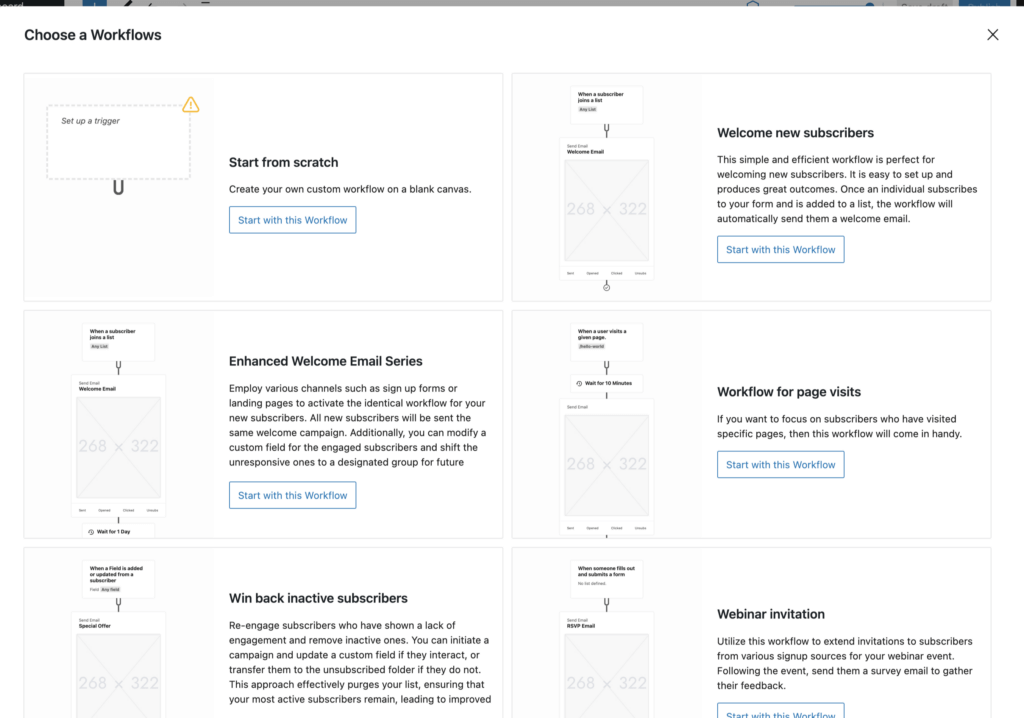
Once you create a new automation for your email marketing in Mailster a modal with some predefined automations will pop up where you can choose to start from.
Adding new steps
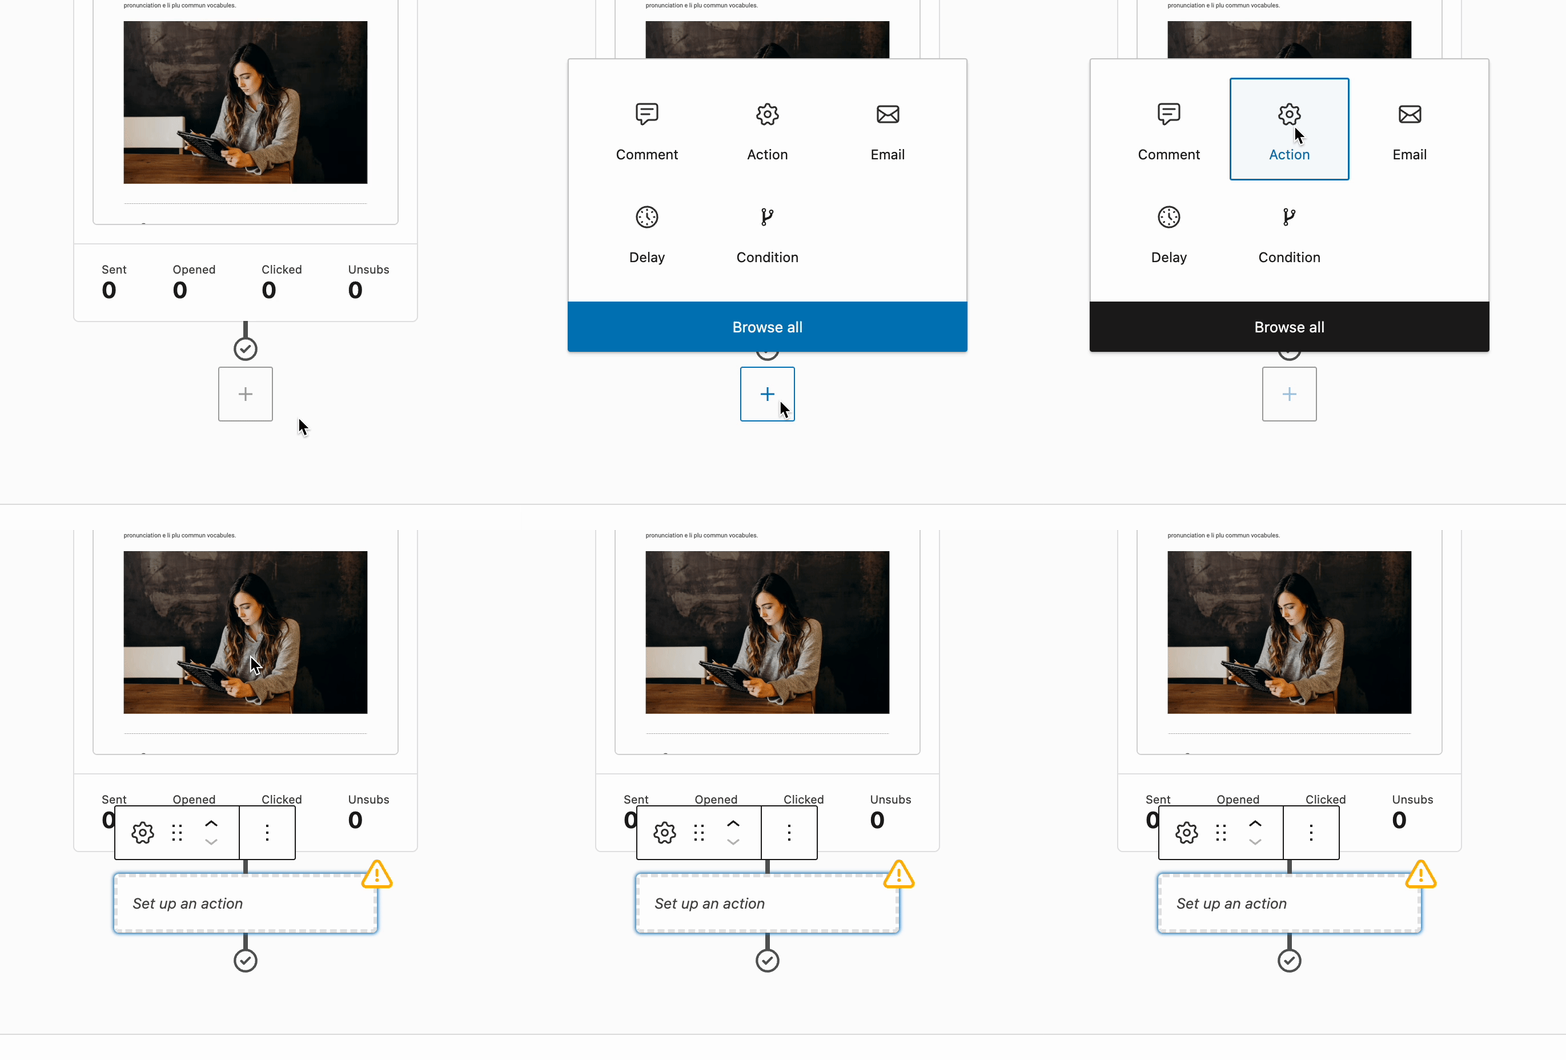
Select one or choose the “Start from scratch” workflow to start with a blank canvas. Add new steps by clicking on one of the block inserters in the editor.
This will add a new block to the canvas, which can be configured further in the inspector controls on the right.