Mailster uses the notification template file of your template to send certain emails. You can change this template with the campaign editor.
Follow these steps to change the notification template.
Create a new campaign
Create a new regular campaign by clicking on the “New Campaign” Menu entry.
Switch to the notification template file
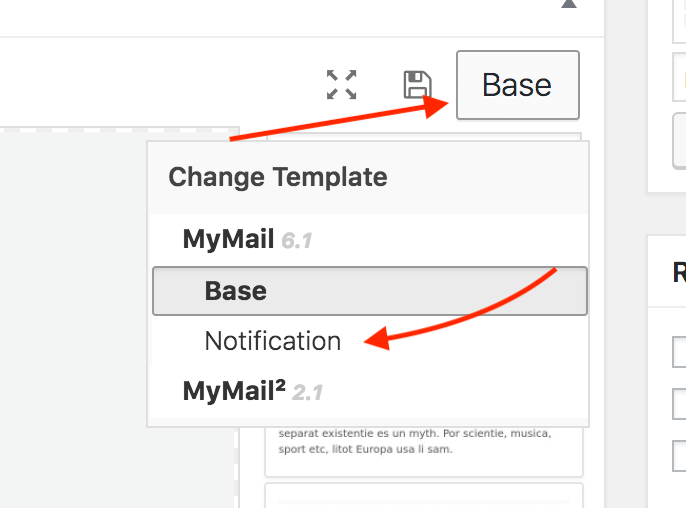
Click on the Template File Selector and choose the Notification template file.
Change the look in the email editor.
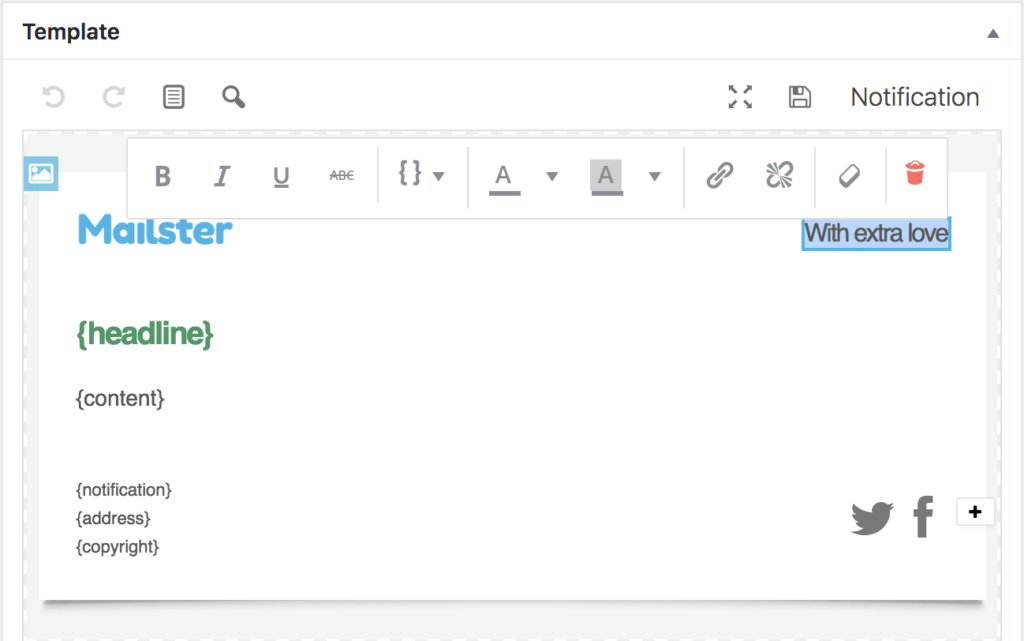
Change the content, images, and links, but keep the {headline} and the {content} tags.
Save the new template file.
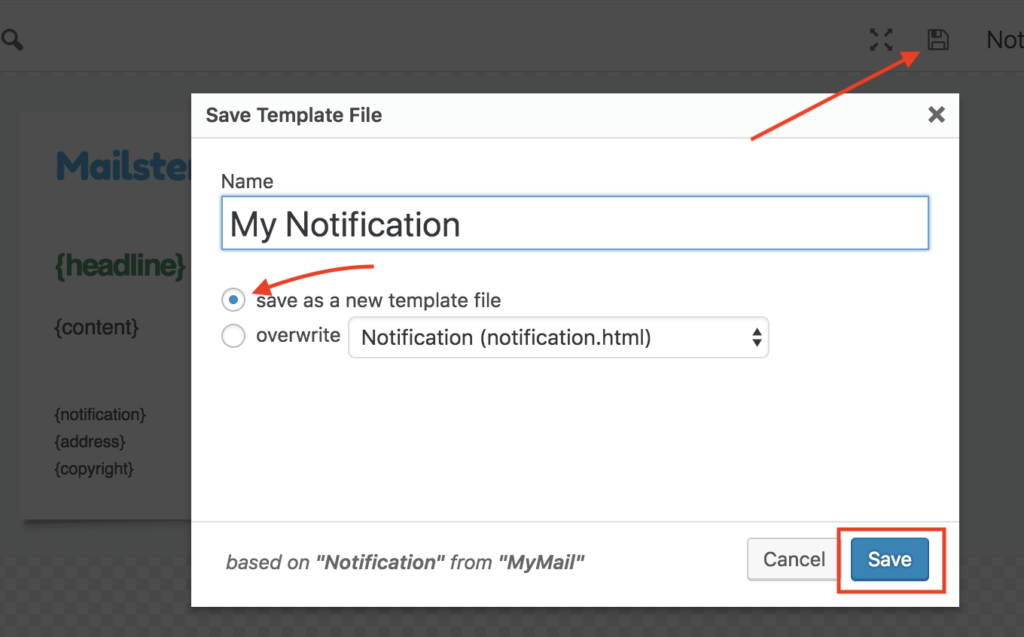
Click on the disc icon in the options bar to reveal the “Save Template File” dialog. Choose to create a new template file and click on “Save”
You’ll get redirected to a fresh campaign using your new template file.
You can now choose the template file from the drop-down in several places.

To edit the template via FTP, you have to locate your upload folder (by default wp-content/uploads/mailster) and find your template in the “templates” folder
Make changes and overwrite the existing files in the templates folder
Changing template files within the plugin folder doesn’t have an effect, and your changes get overwritten with the next update