To ensure the smooth functioning of the subscription and unsubscription process, it is imperative to have a static page as your newsletter homepage. When activating Mailster, you will be prompted to create this page as part of the setup process.
If you are looking for the newsletter homepage made with shortcodes follow this link.
By default, it’s called Newsletter and can be accessed via
https://yourdomain.tld/newsletter-signupSetup
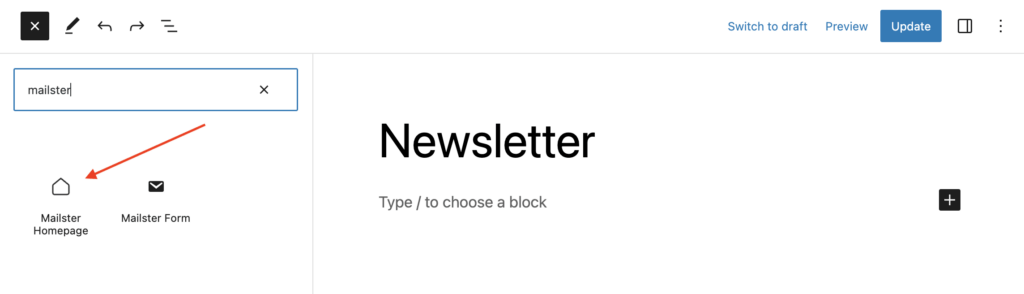
When you install Mailster, it will automatically create a newsletter homepage. If this page gets removed, you can manually create a new blank page on your WordPress site and add the “Mailster Homepage” block to the editor.
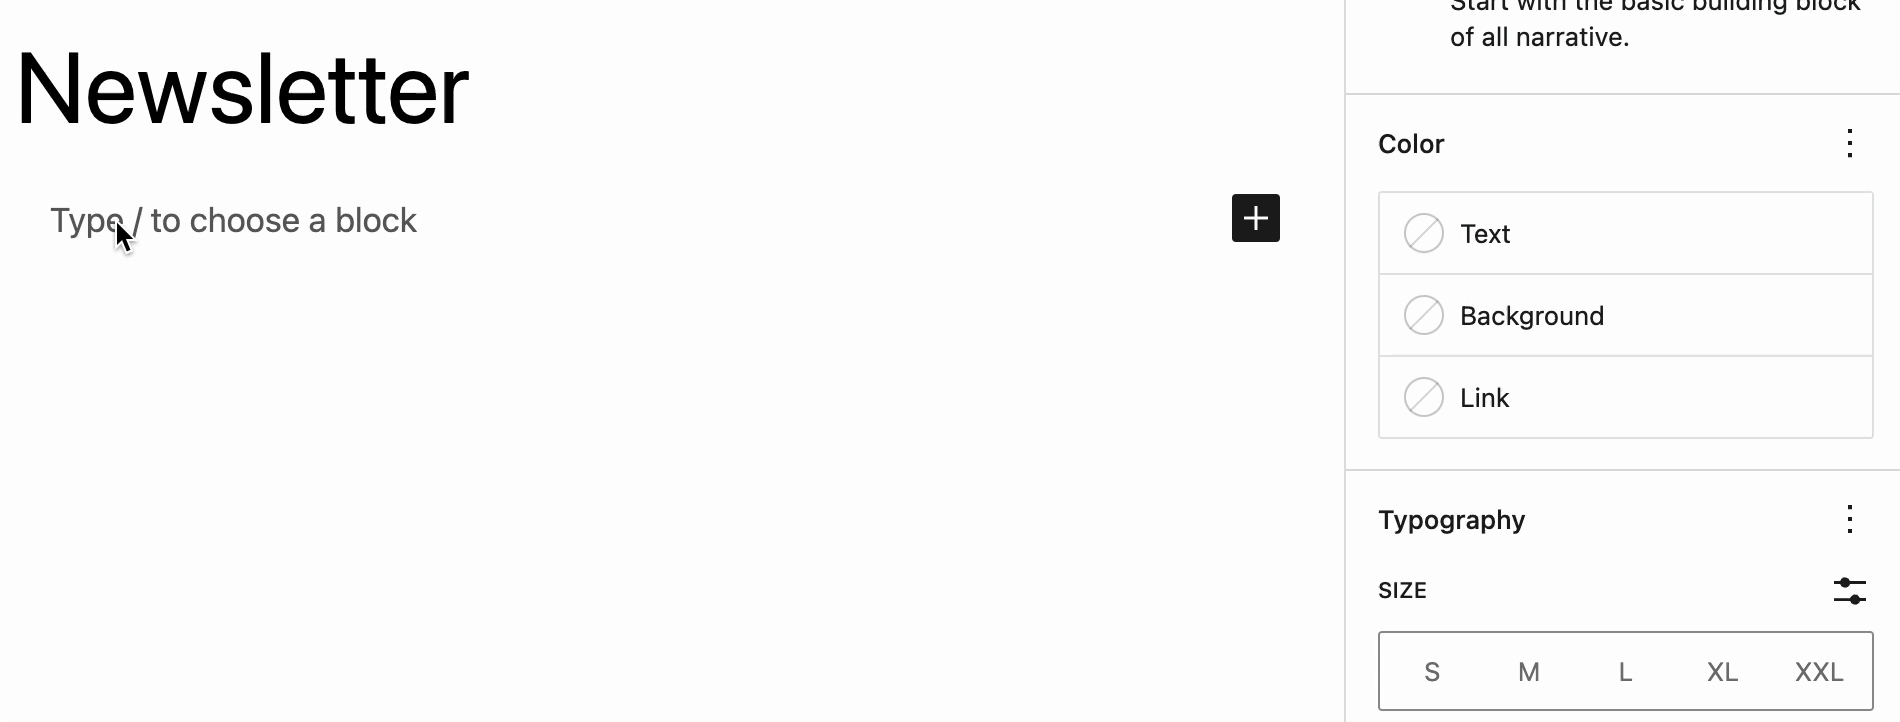
You find the block in the insert panel as well.
You have to link this page on the settings page as well (Settings => Newsletter => Frontend)
Once you add the “Mailster Homepage” Block to the editor you have to choose the form you like to use for the newsletter homepage. You have to choose a form for each section but you can also use the same form each time.
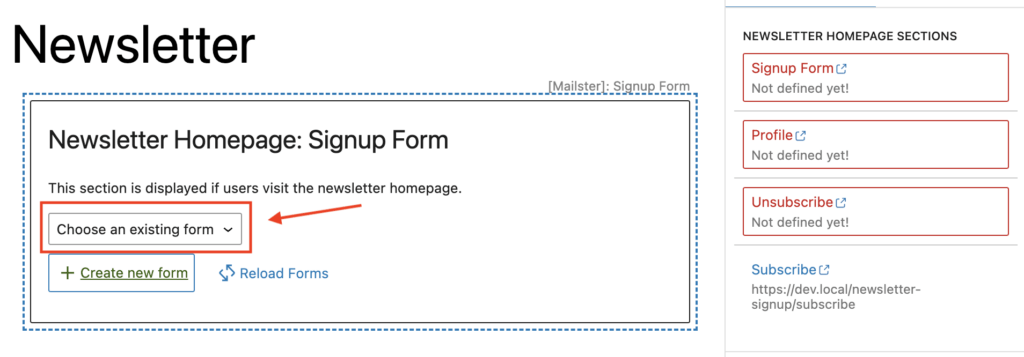
Sections
The newsletter homepage has four different sections, which are displayed depending on the context of the user.
Signup Form
This section is displayed if the user visits the newsletter homepage. This is the page you should redirect people to let them sign up for your newsletter.
https://yourdomain.tld/newsletter-signupProfile
This section is displayed when the user clicks on “update profile” in one of your campaigns. Data from the user is automatically prefilled, and users can update their data.
If you choose to use the same form as the signup form you will have the same fields available (Except the GDPR checkbox). To use different fields for the profile, you have to create a dedicated form.
https://yourdomain.tld/newsletter-signup/profileUnsubscribe
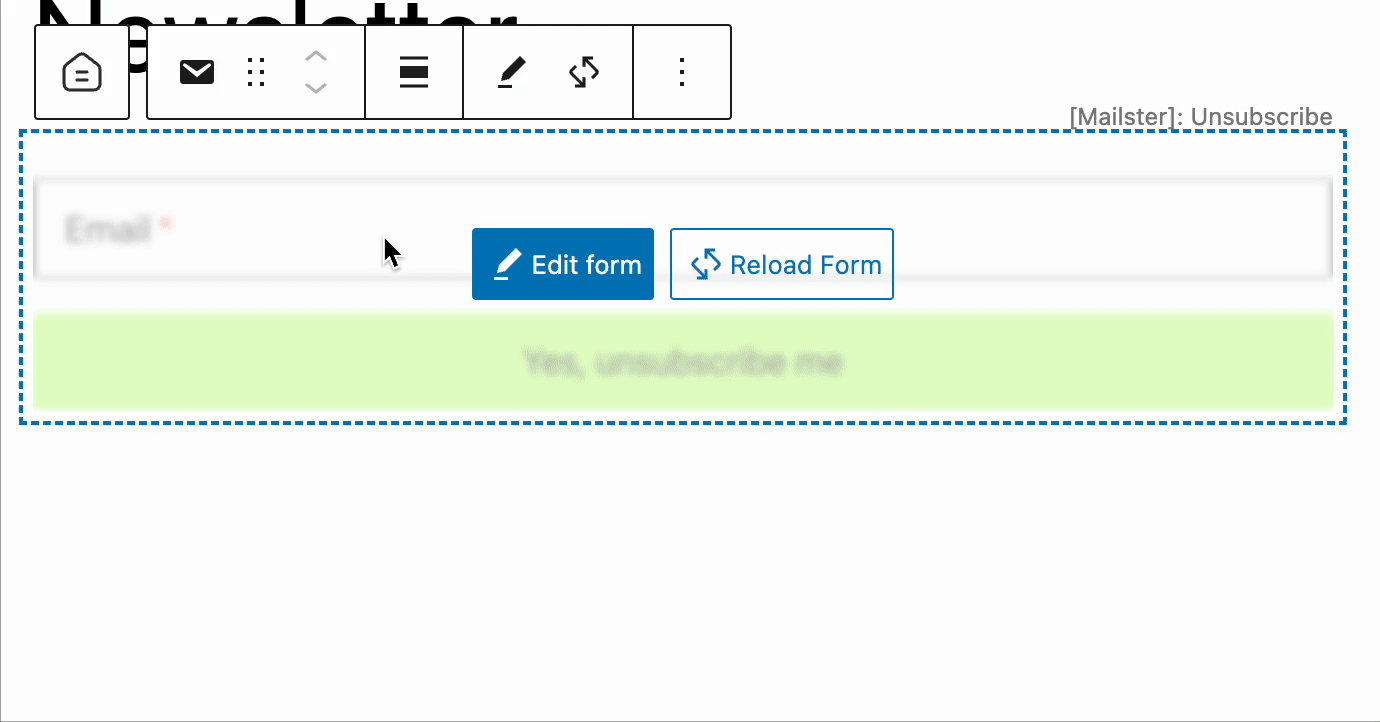
This section is displayed when the user clicks on “unsubscribe” in one of your campaigns.
Mailster will only display the email address field for users to enter in this section.
https://yourdomain.tld/newsletter-signup/unsubsribeSubscribe
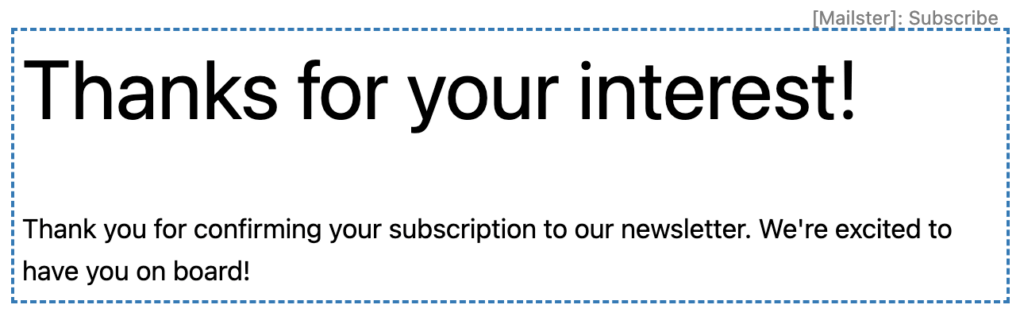
This section is displayed if the user clicks on the link in the confirmation message. You can adjust the content to your need, but make sure you stay in the blue, dotted border to keep the content only visible on that page.
https://yourdomain.tld/newsletter-signup/subscribeAdding content to sections
If you like to add content to a section you have to go to the “Mailster Homepage Context” block and add your content there.
This content is now only visible on the page it was added to. You can use any block you have on your site but please make sure to check the results on the front page.
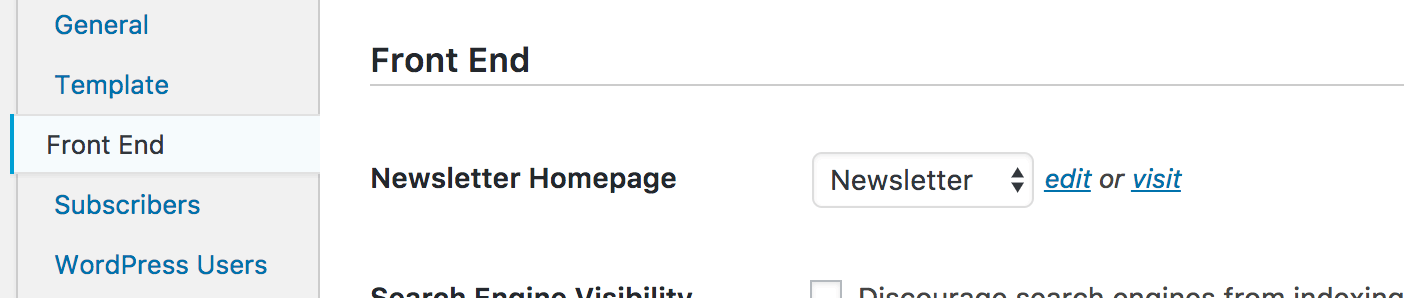
Newsletter Homepage in the settings
You can change the current Newsletter homepage on the “Front End” section of the settings. You can have one newsletter homepage at a time.
Changing the slugs
By default, the sections are located at /profile, /unsubscribe and /subscribe but you can change this to your needs in the “Front End” section in the settings.
Please note if you use the archive function, the “newsletter” slug is reserved for the archive page