Mailster Templates give you a great start to get your campaigns going. If the provided modules don’t fit your needs or you like to have custom starting content you should save your custom template file.
Go to Newsletter => Templates and choose a template you like to customize.
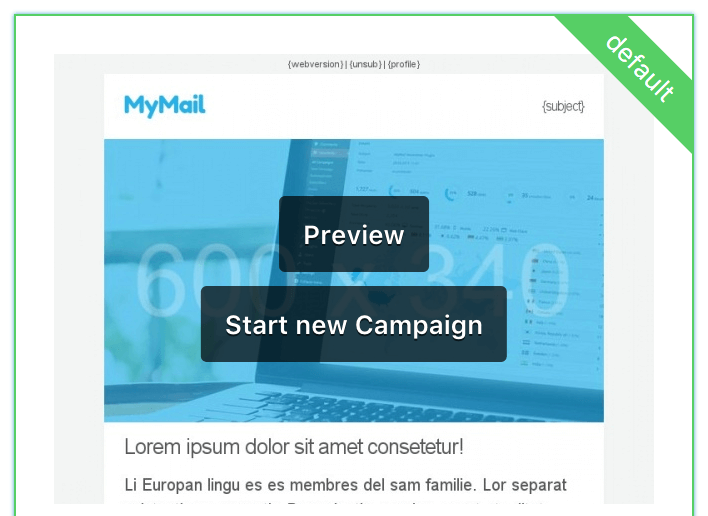
Click on the “Start new Campaign” button which creates a fresh campaign with your chosen template.
You can either choose your default template or any other you have installed on your site. If you like other premium templates visit our templates page here.
You can now add all the modules you like to use in your custom template file.
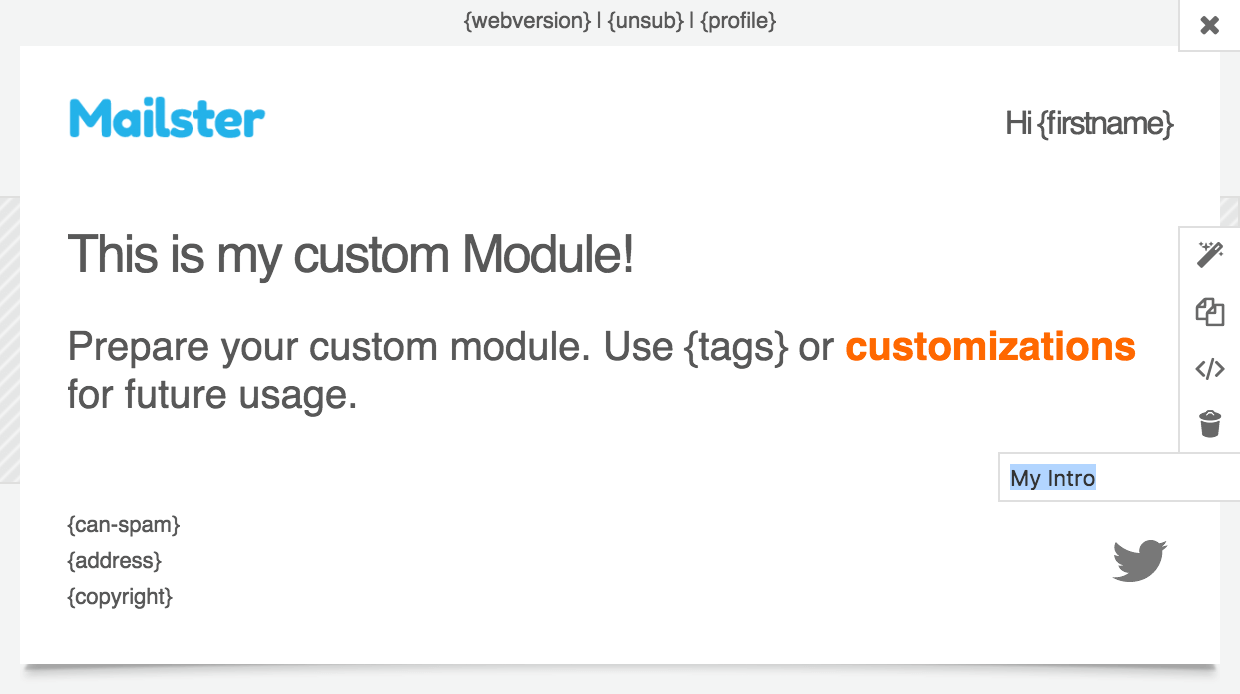
You can also adjust the header and the footer of the template. Define a unique name in the input field below the module buttons.
Once you are finished editing your template file click on the disk icon in the edit bar to save your new file.
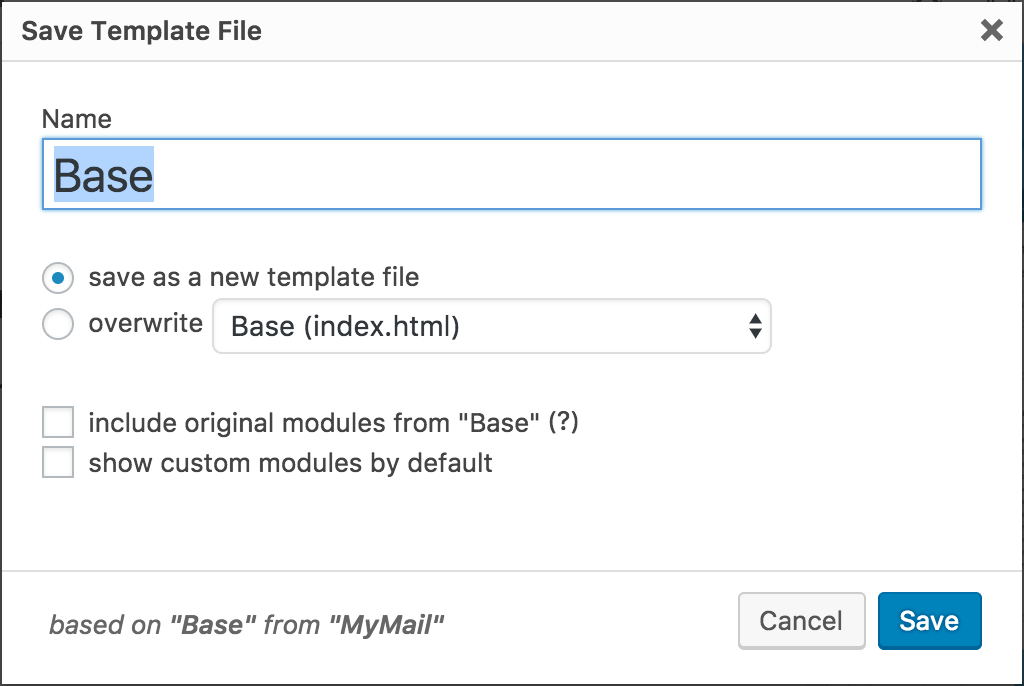
The Save Dialog offers some options.
To create a new template file choose “save as a new template file“. To overwrite select the file you like to overwrite.
If you choose to “include original modules” Mailster will append the default modules from this template file after your custom ones. Otherwise, only your custom modules are stored.
If you check the “show custom modules by default” option Mailster will show your custom modules when you create a new campaign with this template file.
Once you hit the save button your template gets saved and the page refreshes and loads your newly created template file.
Module Screenshots are generated automatically and may take some time before they show up.
You can also customize your notification template.