If you have successfully activated the plugin you can create your first campaign like a regular post. Click on “New Campaign” in the “Newsletter” Menu.
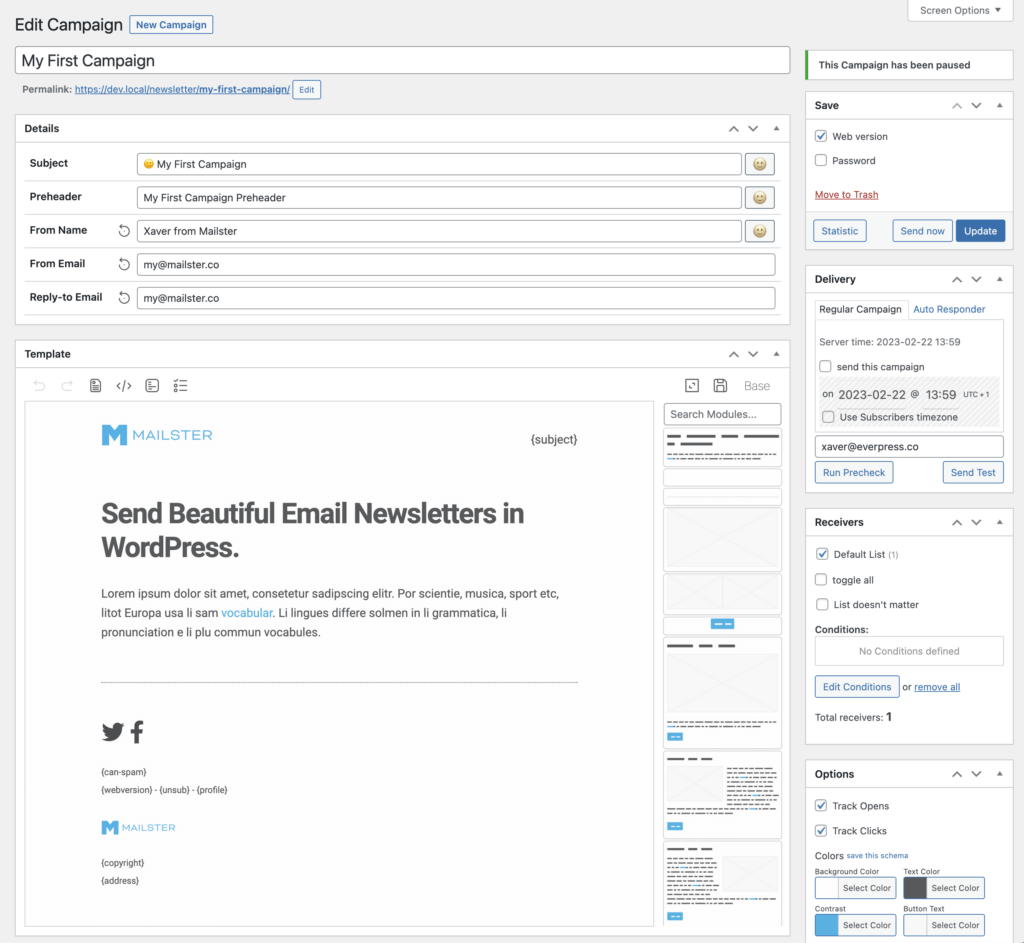
The Details
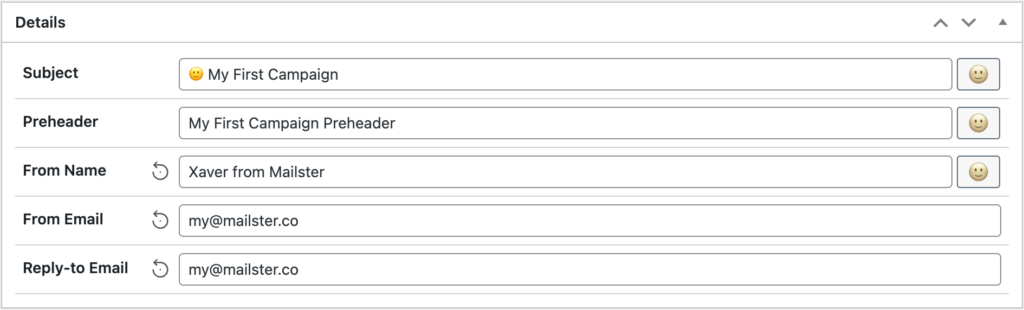
First, choose a title for your campaign. The subject could be the same as the title, but it’s totally up to you.

All templates are prepared for “Preheaders“.

You can define the sender’s email address, name, and the address people can reply.

The Template
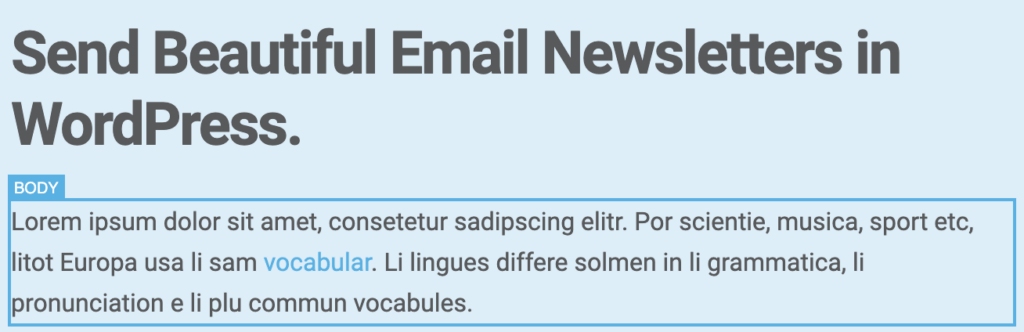
This is how the template looks when you start a new campaign. There’s currently no content except the header and the footer.
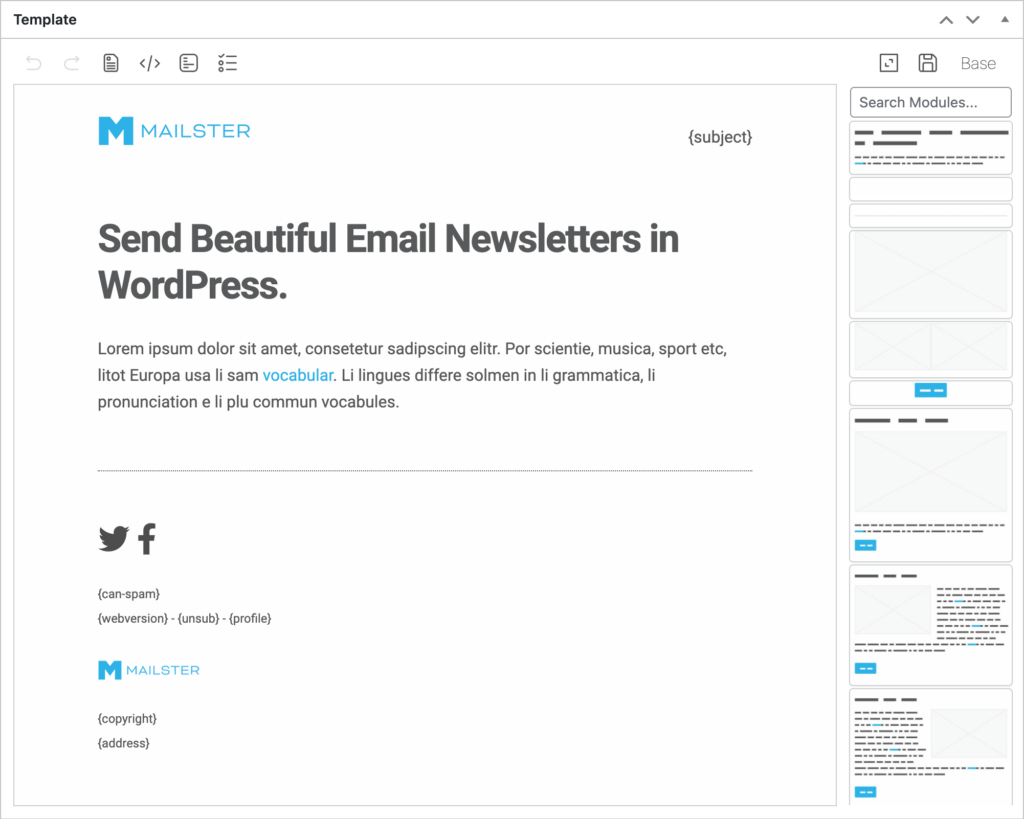
The Options bar

The Options bar is divided into 8 buttons:
- Undo – go back one step.
- Redo – go forward one step.
- Remove Modules – remove all modules at once.
- Toggle HTML/Code view – switch between template and code view.
- Toggle HTML/Plain Text view – switch between HTML and Plain Text view
- Precheck Campaign – preview the newsletter and run a precheck.
- Distraction Free Mode – hides unused elements from your screen.
- Save Template – save the created campaign as a new template.
Adding Content
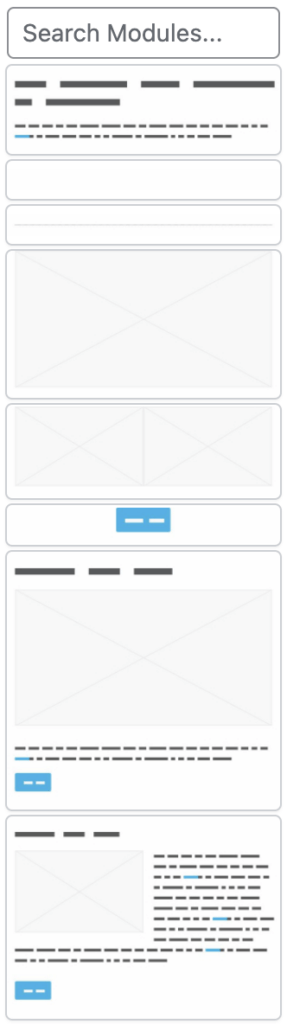
To add new content, you have to add new modules and fill them with content.
Select the module you like to include in your campaign in the Module selector.

To rearrange modules drag the modules to the new position or click the up and down buttons.
To remove a single module, click on the trash can.
To add content, simply click on the element. All editable elements are surrounded by a blue line:
You can add four types of content:
- Single Text
- Advanced HTML Text
- Images (with optional links)
- Buttons (with required links)
- Automatic insertion
Automatic Insertion
Some modules offer a magic wand button on the right side to insert whole posts, including the headline, content, a button with a link to the article, and feature images (if they exist).
Check out how to add posts to your campaign.
You can use different types of placeholder tags in your newsletter.
The Options
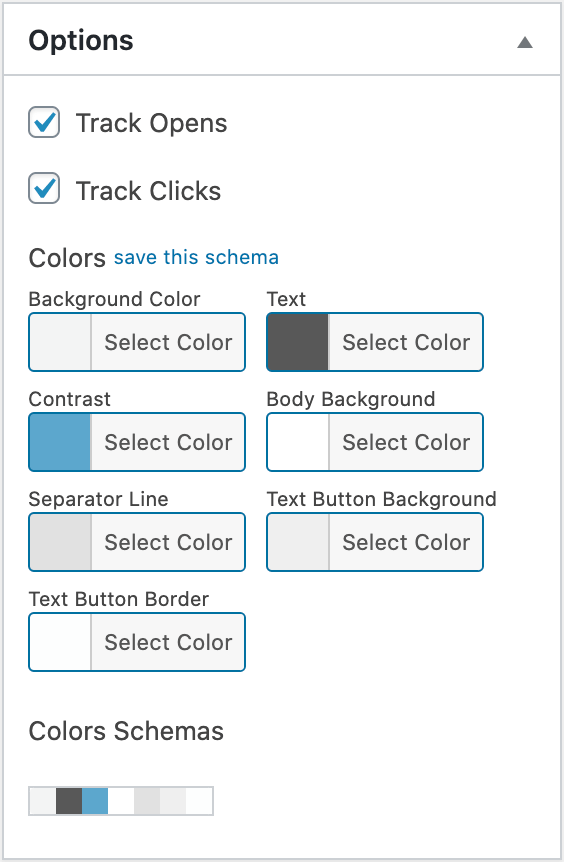
You can change the colors of your newsletter with the color option on the right. Click the arrows to the right to reset each field or save your newly created color schema to reuse it later.
You can enable tracking for the current campaign.
Delivery
The Delivery Meta Box is separated into two options: Regular Campaign and Autoresponder
Regular Campaign
A Regular Campaign is a campaign that gets sent once to each subscriber. The receivers can be defined in the Receivers Meta Box
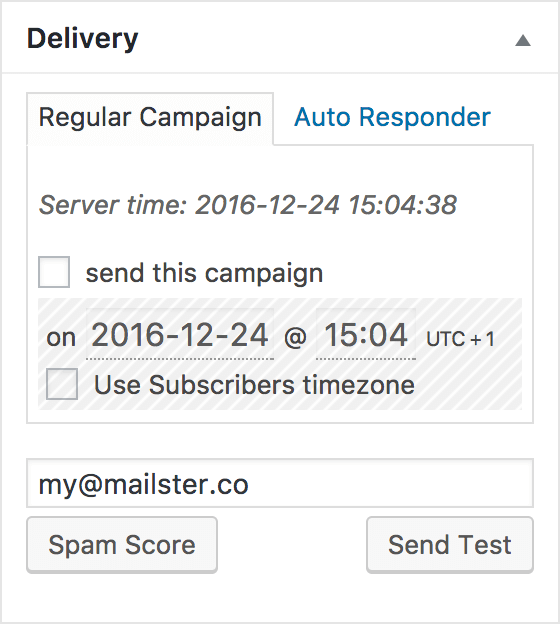
If you don’t check the “Send this Campaign” checkbox, you won’t be able to send your campaign.
You can define any date in the future or leave the current date to send the campaign immediately when you hit the save button (Please check out the Cron Job section to know how campaigns get sent in Mailster)
To test your campaign with your email client,t enter your email and hit the send button.
Autoresponder
Please check the Autoresponder section for more information.
All emails will get sent within your server’s time!
Please check and compare your local time with the time on your server!
Receivers
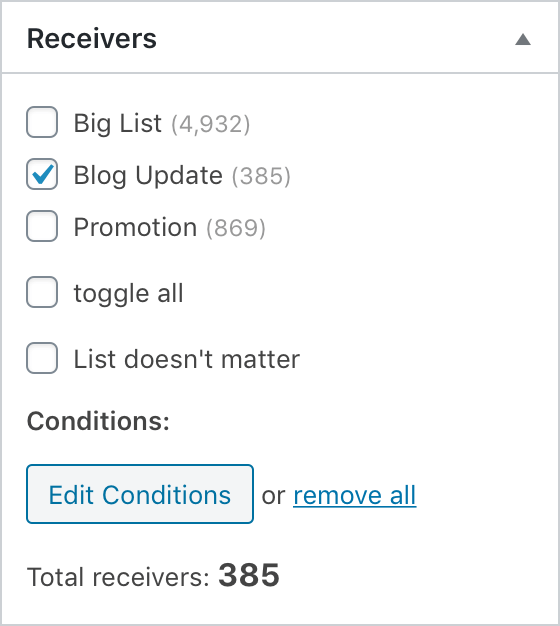
On the Receivers Meta Box, you can limit the receivers for the current campaign
You can either send to specific lists or send to all available subscribers (The list doesn’t matter)
Furthermore, you can limit the receivers by choosing several conditions.
Please read more on list segmentation in our post here.
Password-protected Web version
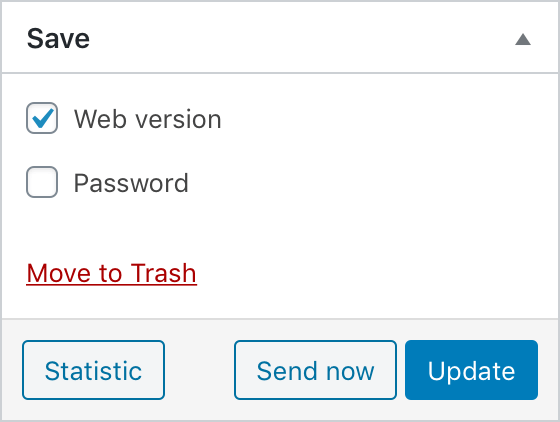
To protect the web version with a password, simply add it to the given box. Users are forced to enter this password in order to see the web version.