Today, we take a tour of the next type of autoresponders:
Action based autoresponders
What are action-based autoresponders for?
They are made to create new campaigns after new content has been published.
Let’s say we would like to send our latest three posts to our subscribers 1 hour after the third post has been published.
Create a new Campaign

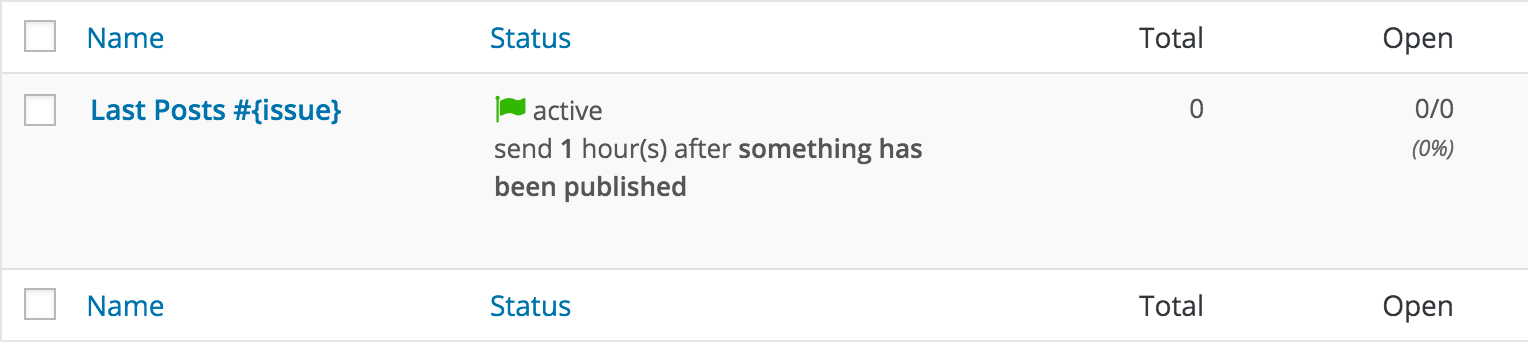
Define the subject and the optional preheader text. You can use the {issue} tag to display the current issue of your autoresponder campaign. It will increase by one every time a new campaign is published

Create the content of your email
Use the editor to add new modules and use relative tags.
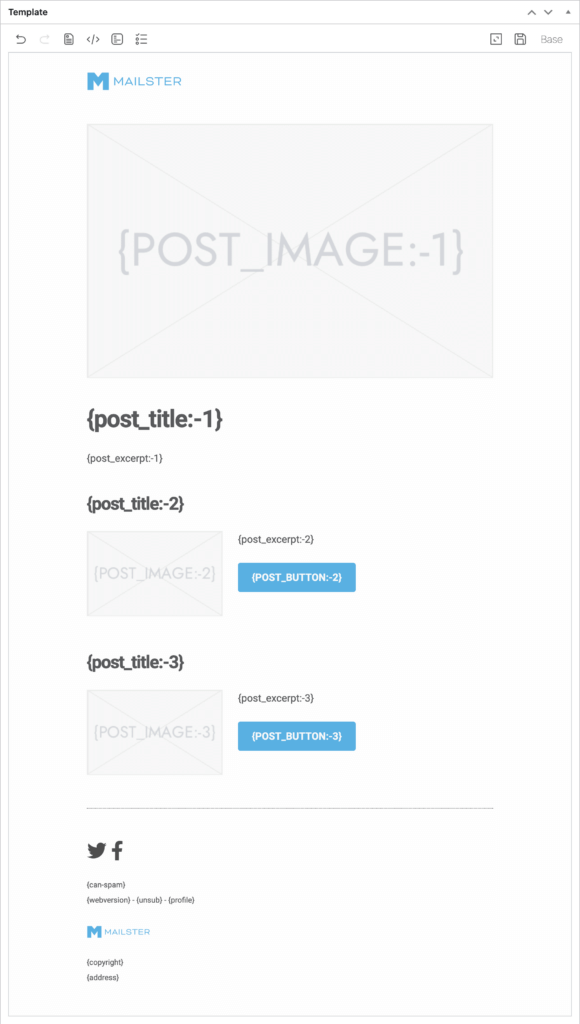
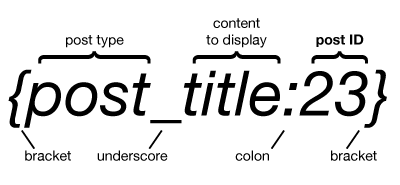
Dynamic tags work with relative (e.g. third latest post) or absolute (e.g. post with id X).

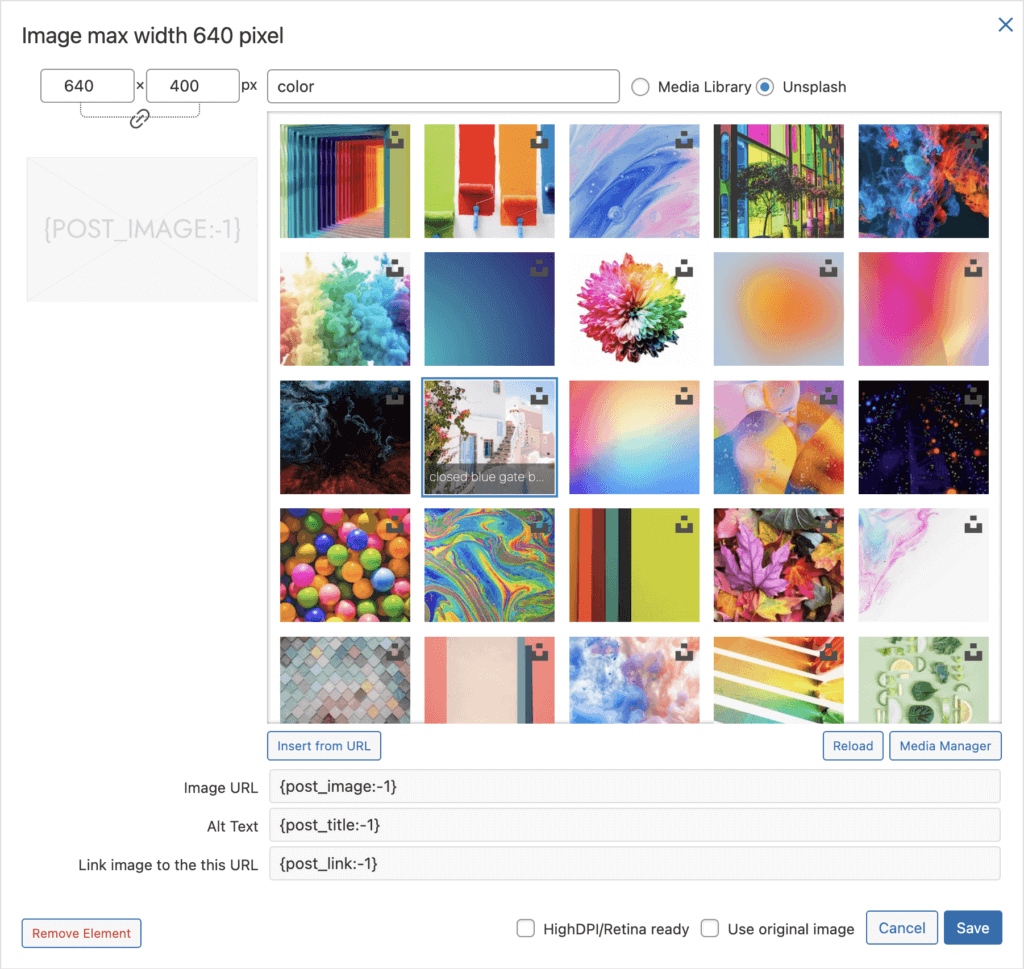
To change the URL of an image to a dynamic tag just insert the tag in the URL field
Define the delivery options for the autoresponder
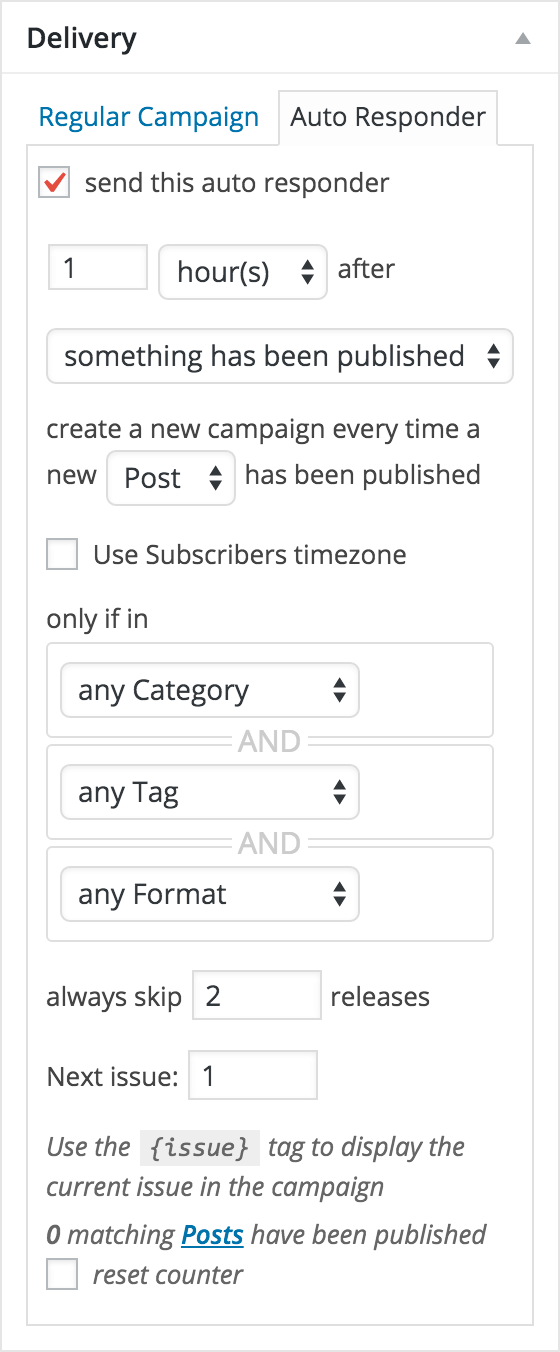
The next step is to tell that campaign that it’s actually an autoresponder. Click on the auto-responder tab in the delivery meta box.
Select the delay and choose “something has been published” from the dropdown.
Since we want to react to new posts choose this type from the available post types. You can use any other custom post type as well.
If you would like to react only to certain tags or categories (taxonomies) you can define them below. You should then also adjust the tags in your campaign to match the chosen categories.
Since we like to fire the campaign only when the third campaign has been published, we have to skip 2 releases.
The next issue will get increase by one every time a new campaign is created. You can use the {issue} tag to use this value in your campaign.
To reset the counter, check the box and save the campaign.
The “Use Subscribers’ timezone” will send the campaigns on the subscriber’s local time. Read more about users’ time zones here.
You can even limit the receivers with list segmentation.
After you have saved your campaign, you can find it in the autoresponder section
Limiting by Categories (taxonomies)
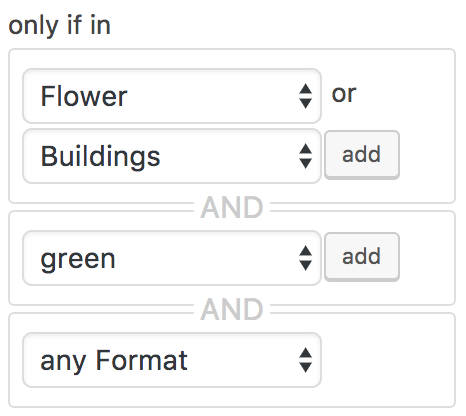
If you just like to send posts within a certain category or with a specific tag or any other taxonomy on a custom post type, you have to select these taxonomies in the delivery meta box.
Do the same for your actual content if you use dynamic tags in your campaign. You can find this option on the dynamic tab in the edit bar.
Next time, we take a look at time-based autoresponders