Sometimes it’s necessary to get notified if a certain point in your workflow is reached. You can send a notification via email to any email address in this step.
Notification Setup
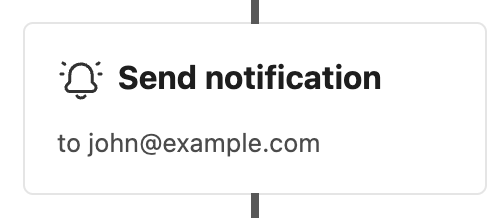
You can find the Notification step in the Inserter next to the other steps.
Configure the step
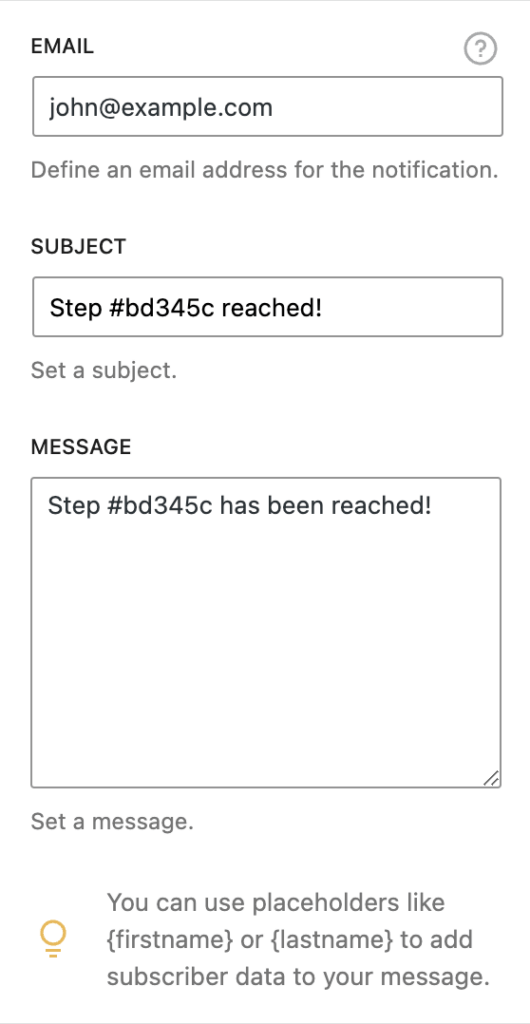
To configure this step you have to enter an email address Mailster should send the notification to once the step is reached in your workflow.
Define a subject and write a message to clarify it in your inbox. You can use placeholder tags like {firstname} or {lastname} to insert the values of the current user from the notification.
The notification will be sent to every customer who crosses this step. This can cause an unexpected amount of emails to reach your inbox!
Each email you get contains a link to this step so you can quickly access and adjust it to your needs.
Skip step
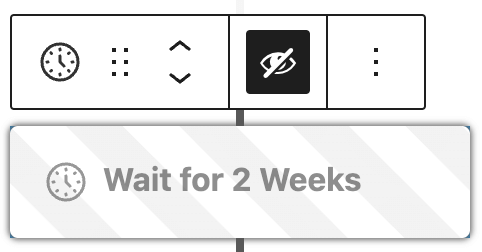
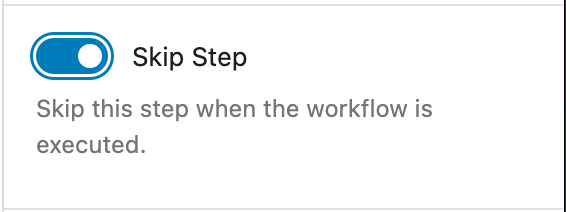
Like every other step, you can also disable/skip this one. Click on the “Eye” button in the block toolbar.
A disabled step will never execute a function until it gets enabled. This can help while you test your workflow.