Sometimes you need a way to skip a step or jump to a different point in your workflow.
This is what jumpers are made for. They offer an easy way to jump to a different position in your customer journey.
Jumper Setup
You can find the Jumper in the Inserter next to the other steps.
Choose the step
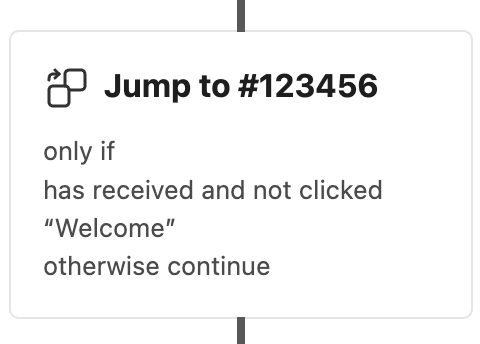
Once you add the Jumper step to your workflow you have to choose the step you like the jump to, once the workflow reaches the point.
Click on the “Select a step” button and choose one of the offered steps you like to jump to. The jumper will always jump to the defined step unless you define conditions.
The 6-letter strings are the unique IDs of the steps and are needed to identify each step. There’s no need to change them.
Conditions
If you like to jump to a certain point in your workflow only if certain conditions are met, you have to define your conditions in the area below.
Skip step
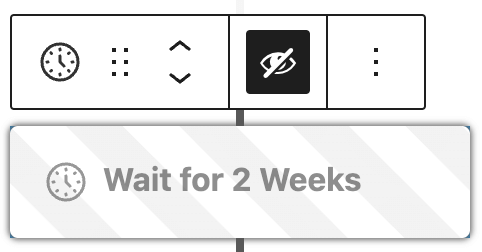
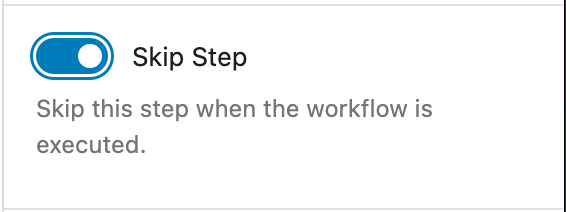
Like every other step, you can also disable/skip this one. Click on the “Eye” button in the block toolbar.
A disabled step will never execute a function until it gets enabled. This can help while you test your workflow.