Today we take a tour of the next type of autoresponders: Time-based autoresponders
What are time-based autoresponders for?
They are made to send new campaigns at a specific interval
Let’s say we would like to send our latest three posts to our subscribers on the first of every month
Create a new Campaign

Define the subject and the optional preheader text. You can use the {issue} tag to display the current issue of your autoresponder campaign. It will get increased by one every time a new campaign has been published

Create the content of your mail
Use the editor to add new modules and use relative tags
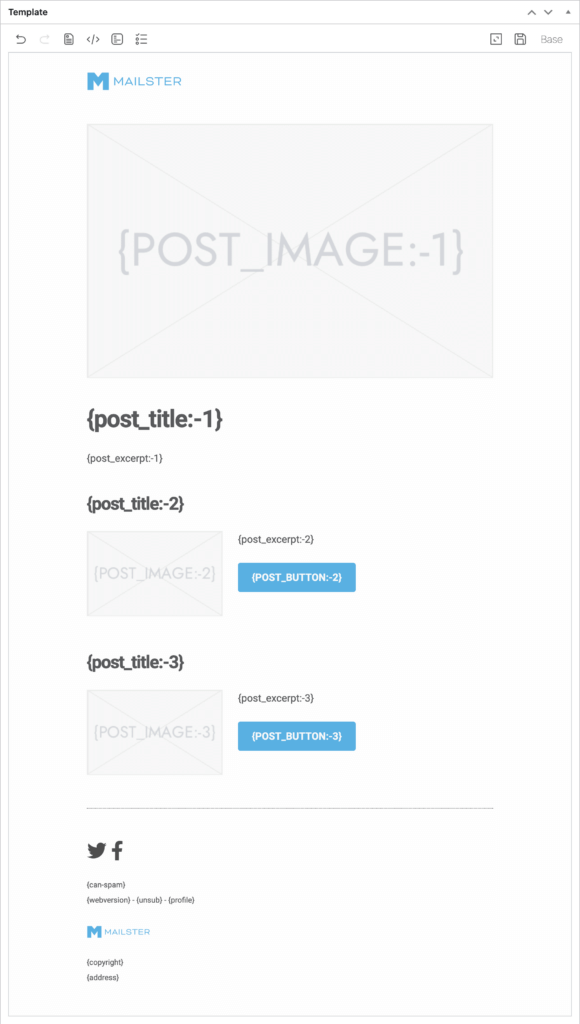
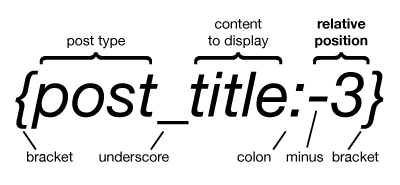
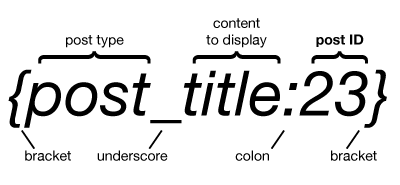
Dynamic tags work with relative (e.g. third latest post) or absolute (e.g. post with id X).
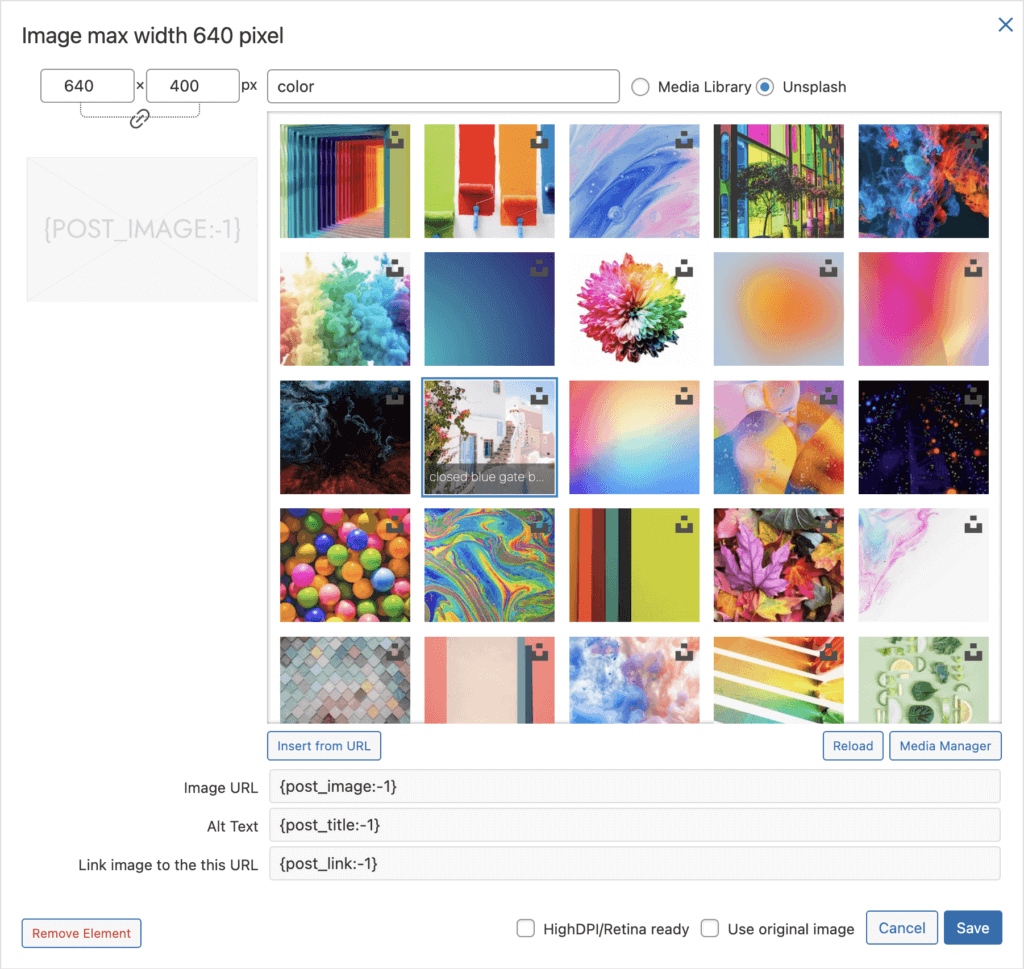
To change the URL of an image to a dynamic tag just insert the tag in the URL field.
Define the delivery options for the autoresponder
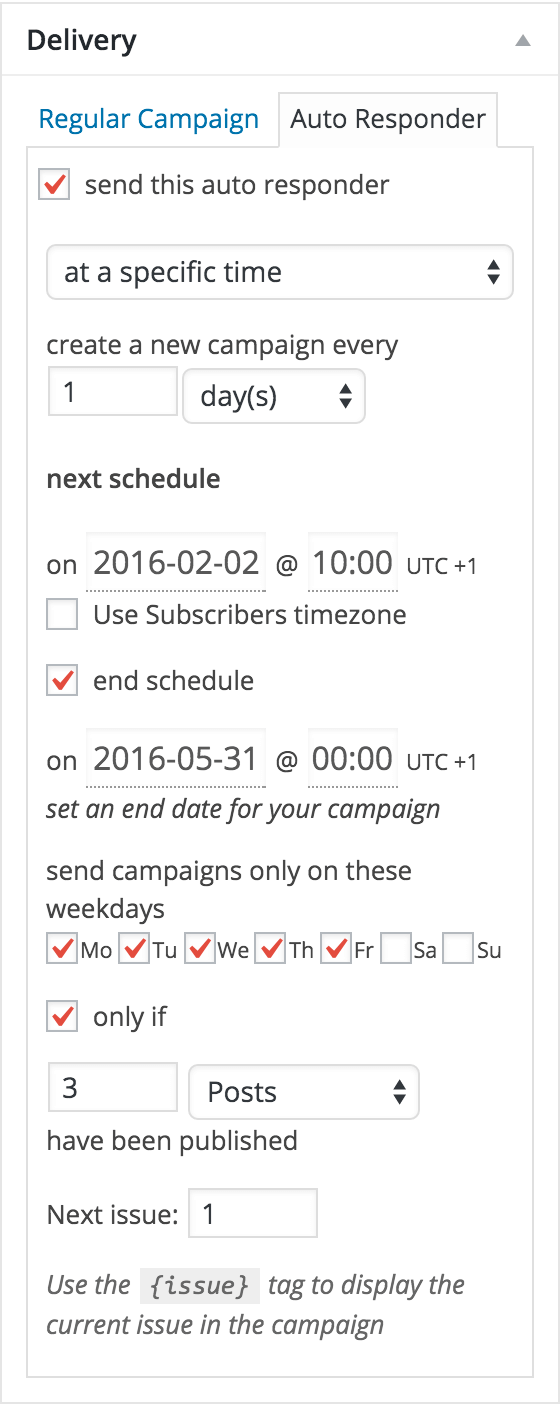
The next step is to tell that campaign that it’s actually an autoresponder. Click on the autoresponder tab in the delivery meta box.
Select the delay and choose “at a specific time” from the dropdown.
Choose “1 day” to create a campaign every day.
Define the start date of the campaign which is also the next schedule. You can also define an end date if the campaign is planned for a certain period.
If you would like to send your campaign only during weekdays uncheck the unwanted days below
The next issue will get increased by one every time a new campaign has been created. You can use the {issue} tag to use this value in your campaign
only if
check this option if you would like to trigger this campaign only after a certain amount of posts have been published. If this given number hasn’t been reached the campaign will be postponed until the next interval.
Don’t forget to define the lists you would like to use!
After you have saved your campaign you can find it in the autoresponder section
