The campaign editor is the heart of Mailster and allows you to quickly build your campaigns. You can also create an Autoresponder as well as Notification templates.
If your campaign has finished this page looks different.
Similar to Post in WordPress, you create a new campaign by clicking on the New Campaign sub-menu entry.
Campaign Title

First, choose a title for your campaign. The subject could be the same as the title, but it’s totally up to you. The title is public in some cases (web version).
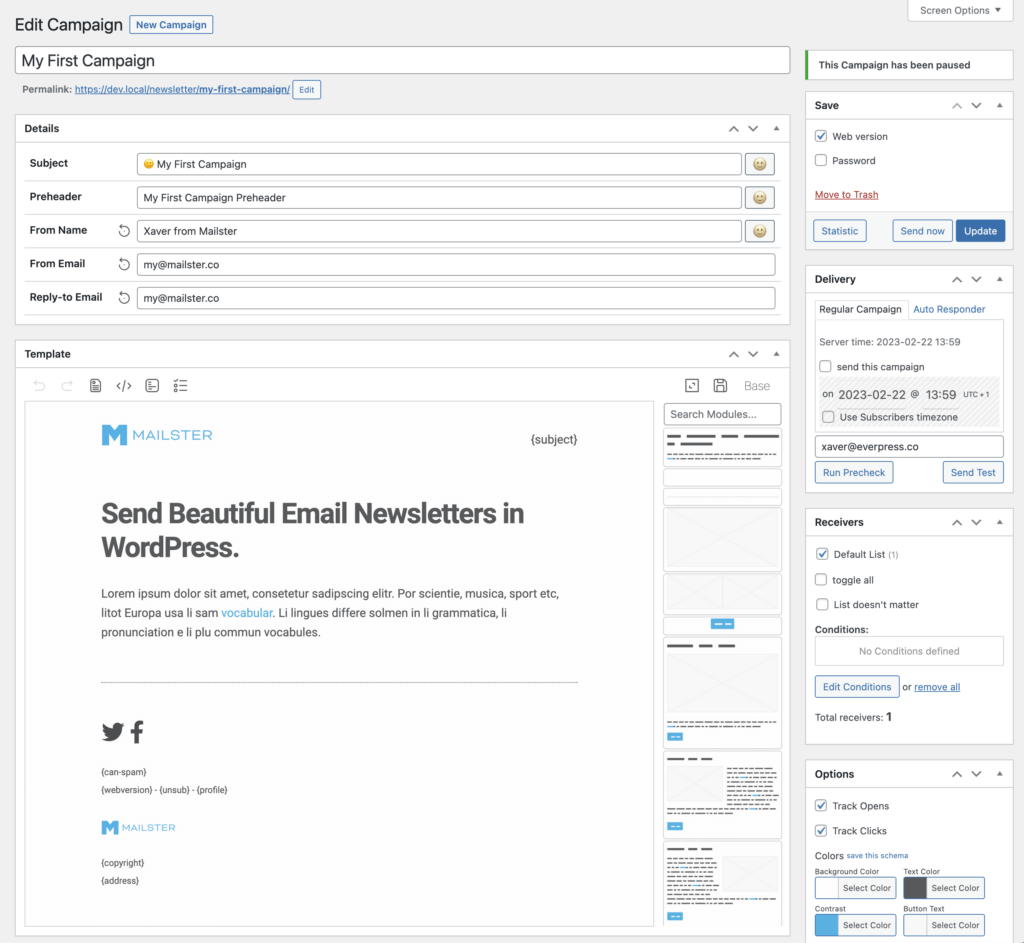
Campaign Details
This meta box lets you define mostly meta info for your campaign. Some fields are also defined globally in the settings and can be overwritten on each campaign.
Most templates are prepared for “Preheaders” texts. You can define the sender’s email address, name, and the address people can reply.
Optionbar

With the option bar, you can
- Undo/redo the last change of your template.
- Remove all modules from the template.
- Switch to code view to edit the HTML source of your template.
- Switch to plain text view to edit the alternative text for email clients that do not support HTML.
- Preview the campaign.
- Enable “distraction-free writing”.
- Open the save dialog to create new template files based on your current one.
- Switch templates and template files.
Adding Content
To add new content, you have to add new modules and fill them with content.

You can find the modules of your current template in the module bar on the right (or on the left if you’re using an RTL language).
You can either click on a module or drag it into the editor to add it to your current campaign. You can rearrange modules by dragging them into the new position or using the arrows on the right.
The modules in the module bar contain screenshots of the module. If you can only see the name of the module, the screenshots haven’t been created yet.
It can take several minutes before the screenshots show up.
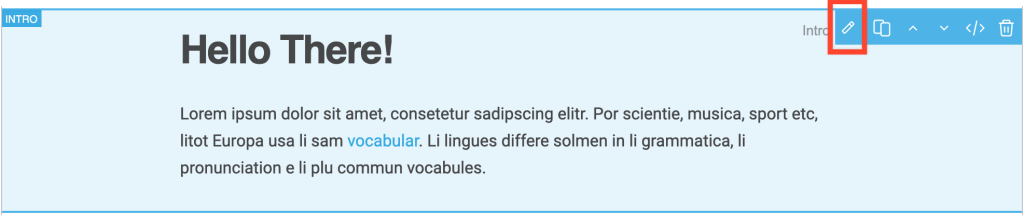
Editbar
Depending on what you like to edit the edit bar adopts the look.
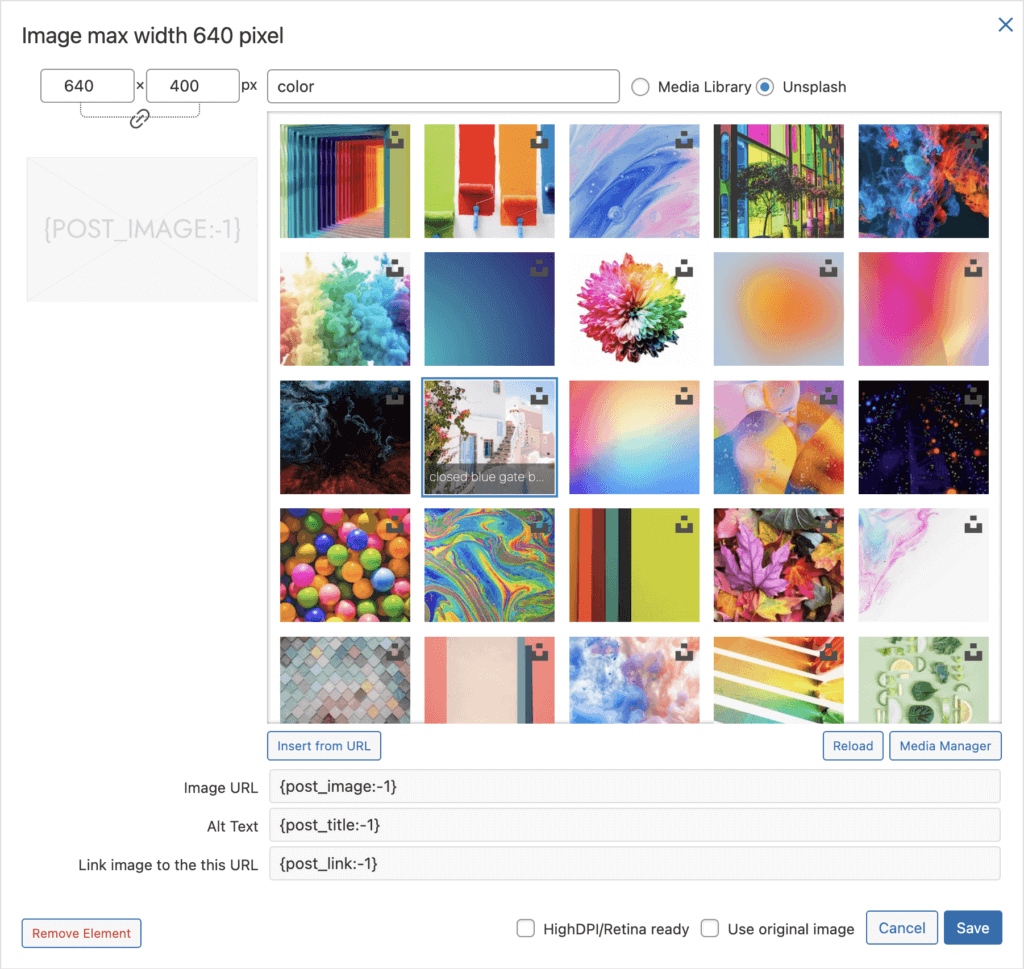
PicPicker edit bar
If you click on an editable image the edit bar will be a picpicker to choose an image from.
Automatic insertion
Some modules offer a button on the right side to insert whole posts including a headline, content, button with a link to the article, and feature images (if they exist).
You can then insert either static or dynamic content.
Static editbar
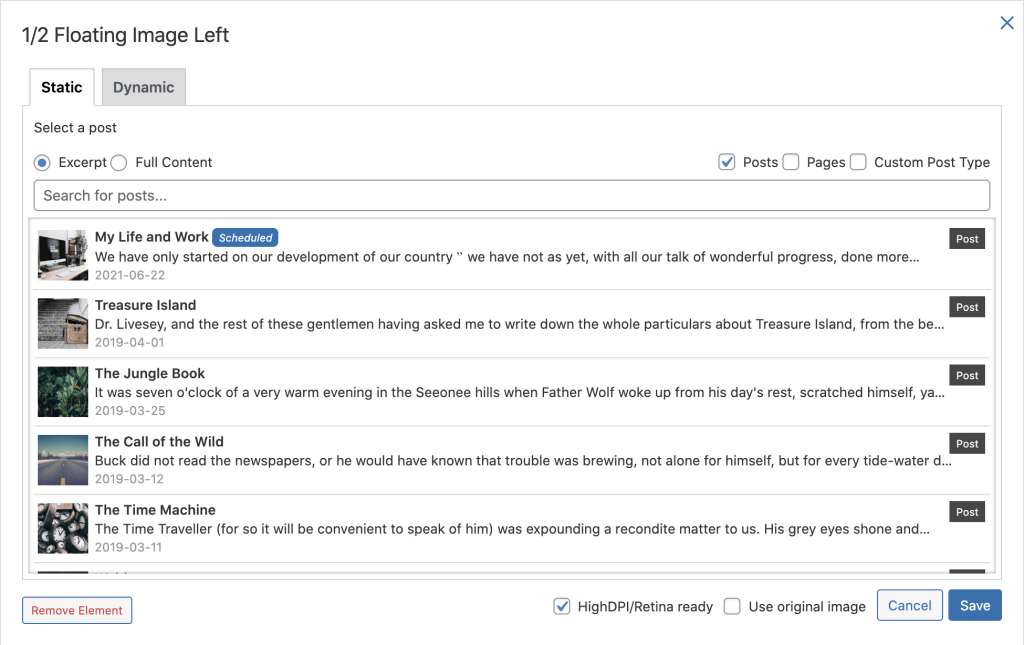
Dynamic editbar

Delivery Options

The Delivery Meta Box is separated into two options: Regular Campaign and Autoresponder.
Regular Campaign
A Regular Campaign is a campaign that gets sent once to each subscriber. The receivers can be defined in the Receivers Meta Box.
If you don’t check the Send this Campaign checkbox, you won’t be able to send your campaign.
You can define any date in the future or leave the current date to send the campaign immediately when you hit the save button (Please check out the Cron Job section to know how campaigns get sent in Mailster).
To test your campaign with your email client, enter your email and hit the send button.

Autoresponder
There are several types of autoresponders in Mailster:
All emails will get sent within your server’s time! Please compare your local time with the time on your server.
Receivers

On the Receivers Meta Box, you can limit the receivers for the current campaign.
You can either send to specific lists or send to all available subscribers (The list doesn’t matter)
Furthermore, you can limit the Receivers by choosing several conditions.
Options

You can overwrite the global tracking options for your site for each campaign.
You can also change the colors of your newsletter with the color option on the right. Click the arrows to the right to reset each field or save your newly created color schema to reuse it later.
Saving options

Either through Mailster or by using the WordPress native auto-save methods, you should save your campaigns regularly. If you have checked the option to send the campaign, Mailster will either queue it or start sending the campaign based on the defined options.
Web version
If you uncheck the web version checkbox you don’t have a public version of your campaign. This is useful for content you only like to have in your email marketing.
Password-protected web version
To protect the web version with a password, simply add it to the given box. Users are forced to enter this password to see the web version.