Incorporating a delay step entails introducing a brief pause into your workflow.
Usually all steps in a workflow run one after the other (except the email step which waits until the email has been sent). The delay step is to define a deliberate pause for the following step.
Delay Options

With every delay step, you have several options:
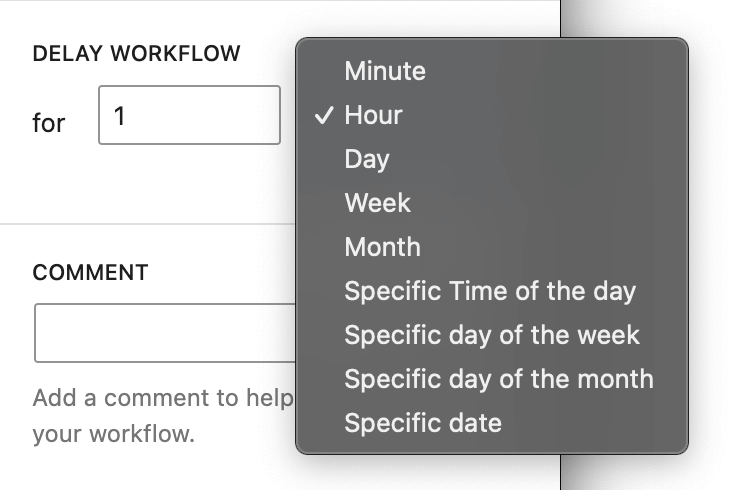
Delay by time
Delay the following step by a certain amount of minutes, hours, days, weeks, or months.
Delay until a specific time
Delay the following step until a certain time is reached.
“Delay until 21:00 today“
“Delay until next Monday at 09:00“
“Delay until the 14th of the next month“
“Delay until the 13th of May 2023“
If the given timeframe is missed the next will be used.
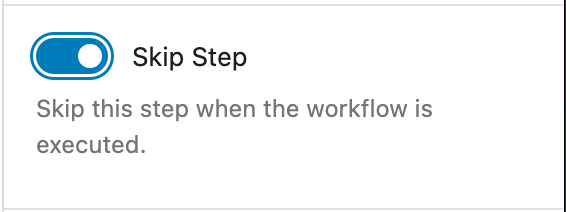
Skip step
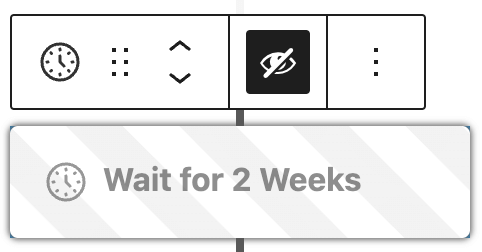
Like every other step, you can also disable/skip this one. Click on the “Eye” button in the block toolbar.
A disabled step will never execute a function until it gets enabled. This can help while you test your workflow.

