With Mailster, you can send multi-language campaigns if you use the WPML plugin for your site.
What you need
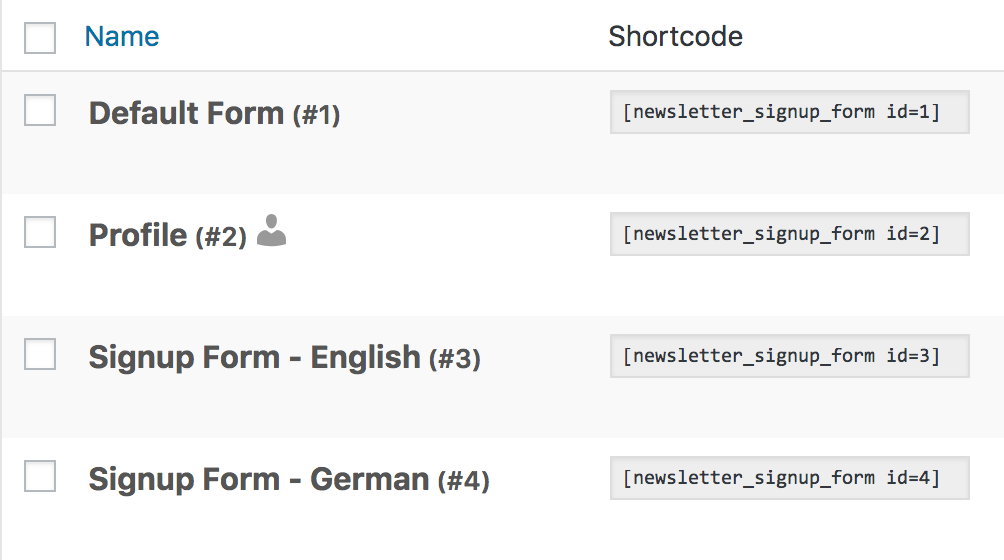
Create your forms
Create a form for each language you like to use. Translate the strings on the settings page to the specific language.
Create translated Newsletter Homepages.
If you haven’t created your newsletter homepage for your base language check out this article.
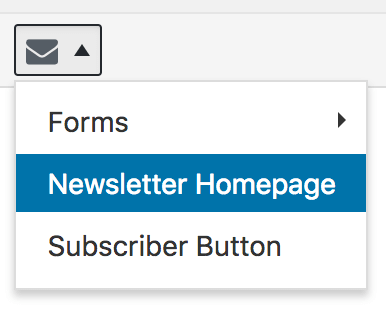
You can quickly add the newsletter shortcodes from the Mailster drop-down menu in the editor.
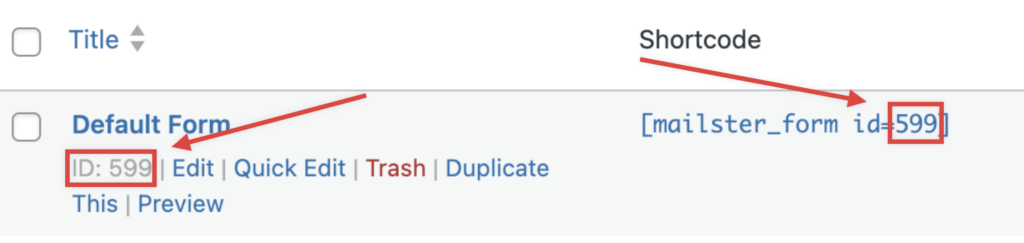
Make sure you choose the correct ID from the form of your desired language.
Once a user subscribes via one of the forms, the current language will be assigned to the user which can be used later.
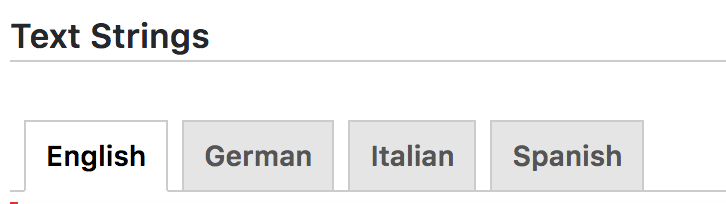
Translate additional strings on the Settings page
Go to Newsletter => Settings => Text Strings and translate all strings in the proper language.
Create your first multilingual Campaign
Now it’s time to create your first multi-language campaigns. Technically you have to create a campaign for each language and send it to people with a certain language.
You may have to make “Campaigns” translatable first. Check the meta box from the WPML plugin and click on Apply.
Create your campaign like any other regular campaign.
For your base language campaign, add a new language condition where the value is your default language (“en” for English, in our case). If you like to send this campaign to users without a defined language add a new OR condition with an empty value field as shown below.

You can define additional conditions for your campaign.
For your other languages, you have to define the condition “Language” based on the campaign language.
To find the proper language code, check out the Wikipedia page for ISO 639-1 codes.