Mailster is used around the world, and while many installations are running with an English localization even more don’t.
We are running a Translation Project for Mailster which lets you help us fix missing or wrong translations.
Once you enable Mailster, it will try to download your localization from translate.mailster.co. If your language is not supported yet, or WordPress wasn’t able to load the language files, you will get Mailster in its default language.
If you switch the language of your site later, you have to manually load the required files.
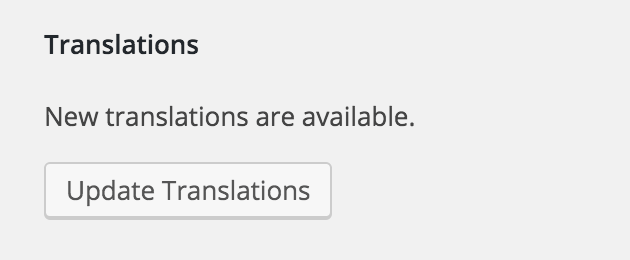
Go to Dashboard => Updates and find the “Translations” section

Click on “Update Translations” and your localization will get loaded.

Whenever there’s an update to your language, you can repeat this step.
Custom Translations
If you’re not happy with the translation in your language, you can add your custom translation file.
- Download your language with the steps described above or via translate.mailster.co.
- Go to the wp-content/languages/plugins folder and copy the mailster-xx_XX.po and mailster-xx_XX.mo file into wp-content/uploads/mailster/languages (xx_XX is your actual language).
- Edit your file with an Editor like PoEdit
Make sure the file name has the correct format!
Mailster will now use the mailster-xx_XX.mo file in this folder. To change the strings you can use tools like Poedit to create your own mailster-xx_XX.mo file.