In many cases, you would like to offer a discount to your customers once they buy a certain product. With Mailster and WooCommerce, you can do this pretty simply.
Preparation
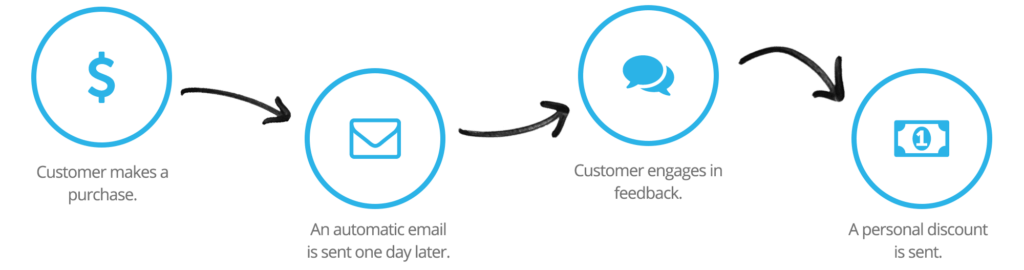
First, you have to think about your customer journey. In our case, it is:
- The customer makes a purchase
- An email is sent after 24h
- The customer clicks a link
- Click triggers a second autoresponder with a coupon code
The customer makes a purchase
This is mostly done via WooCommerce, and if you use our WooCommerce addon you can easily move subscribers, who purchased a certain product into a given list.
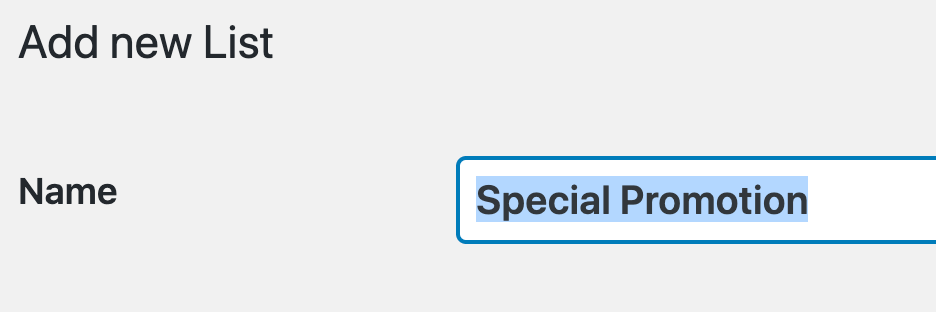
Create your List
Go to Newsletter > Lists and create a new list dedicated to this case.
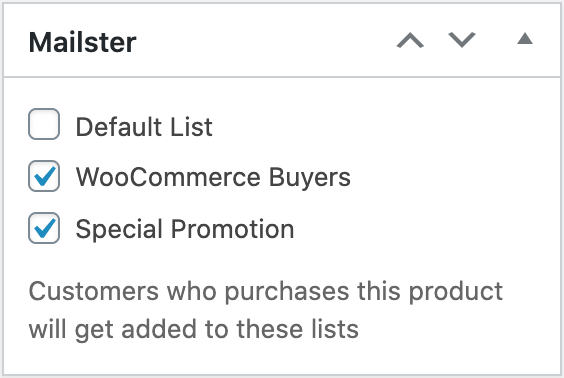
Assign products to this list
Next, find the products people need to purchase to get added to the list.
Click on save the product and repeat this step for every product you like to use.
Create the initial campaign
Before we create the campaign we need a landing page people will get redirected to. Go to Pages => Add new and create a dedicated landing page.
Next, you have to create an autoresponder campaign people can interact with. Add a “Call to Action” (CTA) button so people are more likely to engage.

Link the CTA button to the landing page we created before.
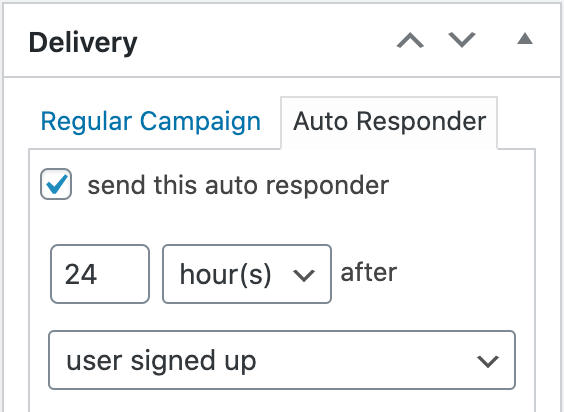
Next, we’ll prepare the delivery options for our autoresponder. Choose a time after which people will get this campaign.
We choose 24 hours, but feel free to set it to any delay.
Add some custom code
Since we like to react when the customer clicks on the button need some custom code to achieve that. (Learn more about how to add custom code.)
add_action( 'mailster_click', function( $subscriber_id, $campaign_id, $target, $index ) {

    if( $subscriber_id && $target == 'https://example.com/claim-your-discount/' ){
         do_action( 'send_my_coupon_campaign', $subscriber_id );
    }

}, 10, 4);
This snippet checks if a click was made by a valid subscriber and if the click was on our target link. If that is the case a custom action is triggered. More on that later.
Create your coupon code
First, create a coupon by following the official guide.
Now let’s create the second campaign, which contains the coupon code for the discount.
Make sure your autoresponder campaign contains the coupon code.
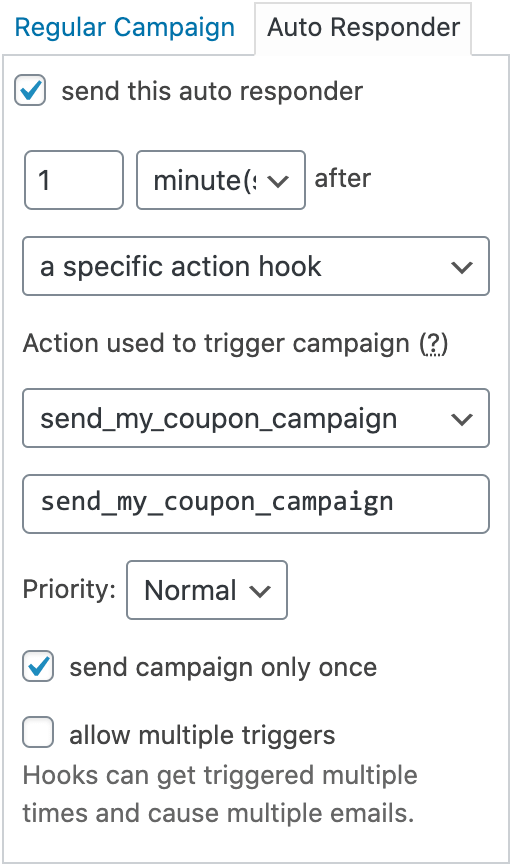
Create an action hook-based autoresponder where you use our send_my_coupon_campaign action hook.
Set the Priority to normal.
Make sure “send campaign only once” is checked so people don’t get the campaigns twice if they hit the button more than once.
Also, uncheck “allow multiple triggers” which prevents the campaign from getting queued more than once.
You’re done!
Make sure you test-run your setup with your own use to make sure everything is running smoothly.