SendGrid is a powerful sending provider that works with Mailster.
1. Sign Up
First Sign up here and follow the instructions on the screen.
2. Create an API Key
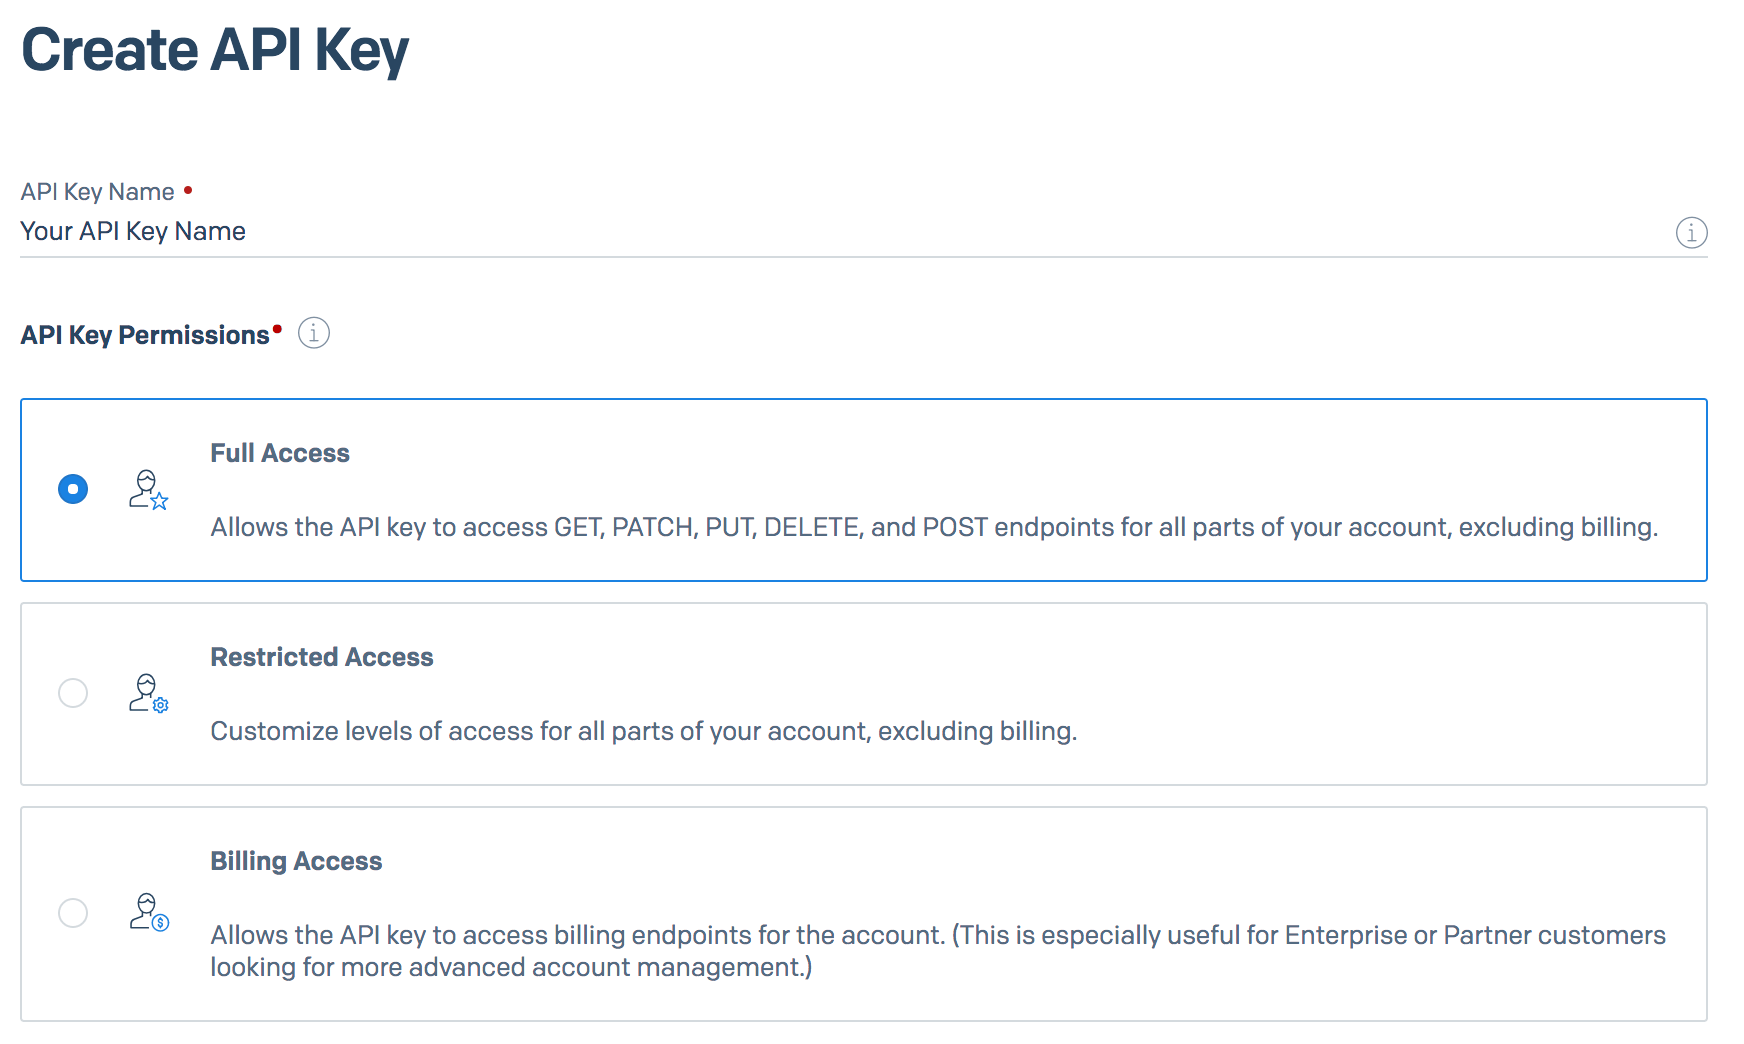
Create a new API Key in your SendGrid Dashboard and define the name of your key. You can choose “Full Access” but you need the following permissions:
- Mail Send => Full Access (to send mails)
- Suppressions => Read Access (to get suppressions like bounces, unsubscribed, and spam complaints)
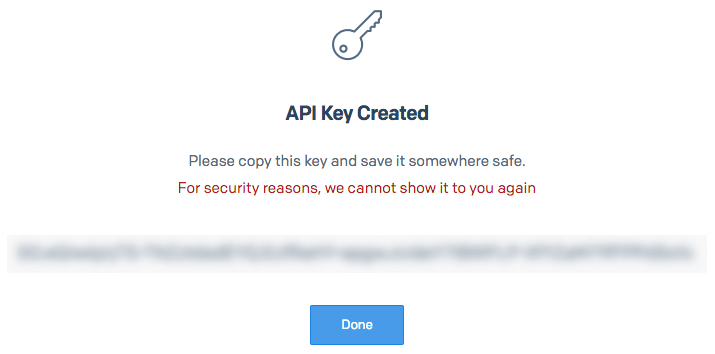
Copy the created API key and paste it on the delivery tab in the Mailster settings.
3. Sender Authentication
SendGrid asks you to authenticate your used sender. This is good to prevent others from sending with your email address. Go to Sender Authentication in your Sendgrid dashboard. You have two options:
- Domain Authentication
- Single Sender Verification
In general, it’s good to verify your domain but this requires you to change the DNS entries of your domain. If you don’t own the domain you are sending from or you cannot change the DNS entries go with the Single Sender Verification.
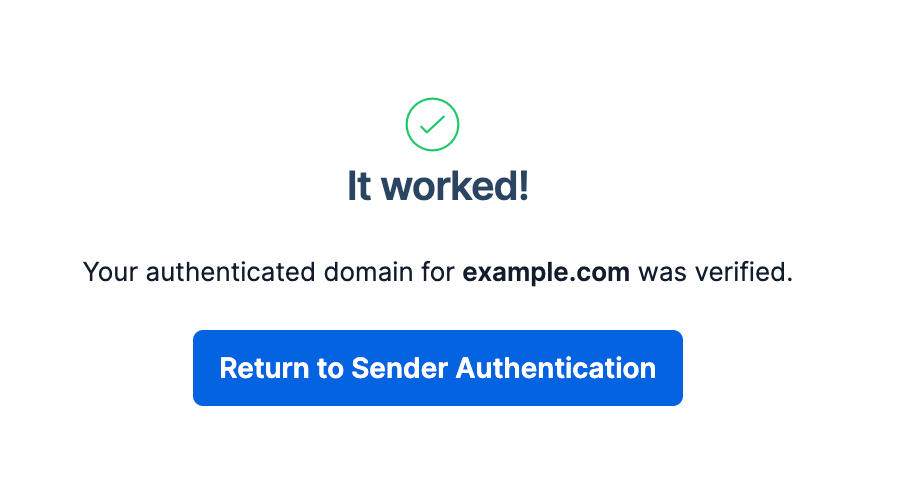
Follow the wizard provided by SendGrid to verify your sender.
Once you verified your sender or your domain you can start sending.
4. Send a test message
Test your current settings to see if everything is working:

Start sending via SendGrid

Now you can go back to Mailster and send a test mail on the settings page.