Mailster can automatically process bounces, which requires some setup. All emails sent before this setup do not get processed.
You need a dedicated postbox for your bounces.
Enter a Bounce Address on the Bounce tab in the settings and enable automatic bounce handling. This will reveal further options and you have to enter the credentials of your bounce email server.

In the next step, you have to choose which type your mailbox you have. Please check the server configurations for more info.
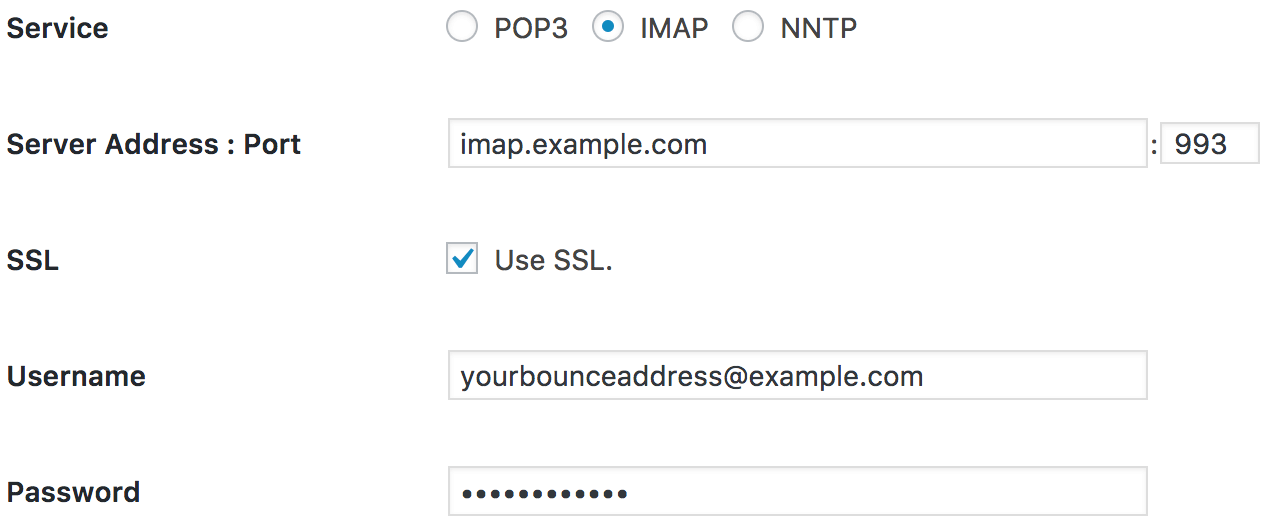
Enter additional credentials for your bounce server. Make sure you don’t have spelling errors or unwanted whitespace.
Finally, you have to define the bounce check options. You can keep the default values if you are not sure.
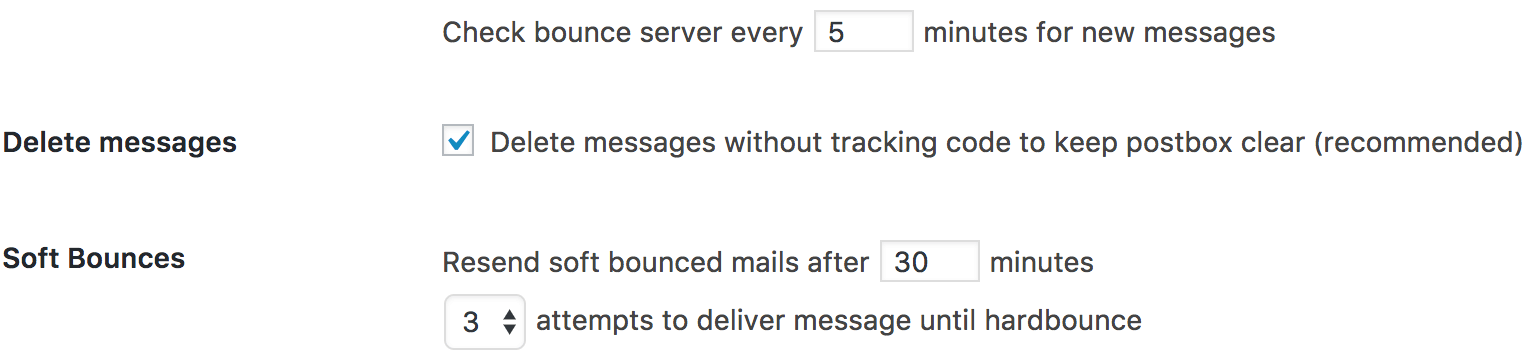
Your bounce gets checked at most every 5 minutes. This happens with the cron so make sure it is working correctly. You can delete other messages that do not bounce messages from a Mailster installation to keep your postbox clear.
You can share a single bounce server with multiple Mailster installations.
Soft Bounce
A soft bounce is a temporary rejection of your message. This happens if the receiver’s mailbox is full or the server is not available at the moment. Mailster will try to resend the campaign after the given time (30 minutes) up to 3 times. If the message still bounces back, it will mark the subscriber as “hard bounced”.
Hard Bounces
A hard-bounced email will immediately cause the subscriber to get marked as “hard bounced”. They will then no longer receive any messages from Mailster.
Test your settings
You can test your settings if you click the button at the bottom of this settings page. Mailster will send a test message with a unique id to your bounce server and check if it can successfully fetch it.