Depending on your license you can use Mailster on one site or more. If you like to use your single-use license on a different domain and move all the data from Site A to Site B you have to follow some steps.
Backup first
You should back up both databases before doing any importing or exporting on your site. You can find several backup plugins on the WordPress repo.
Export data (optional)
You can optionally copy your data over to your new site.
Coping the Mailster database tables
Copy all tables starting with wp_mailster_ to Site B. Get in touch with your provider if you don’t know how to access your database.
Export Campaigns
Once the Mailster tables are copied go back to Site A and export your campaigns. Since Mailster uses a custom post type for the campaigns you use the regular export tool from WordPress which can be found at Tools => Export.
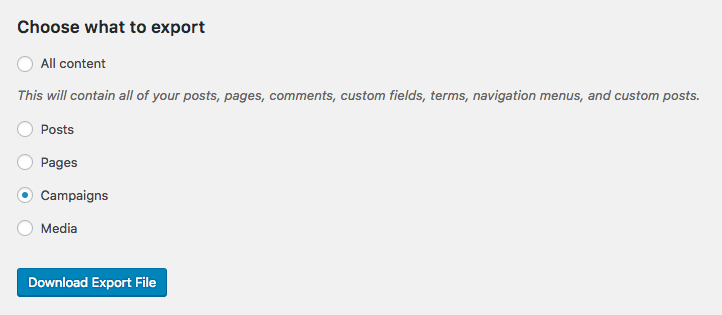
The best is just to export “Campaigns” so you don’t get too much data in your export file.
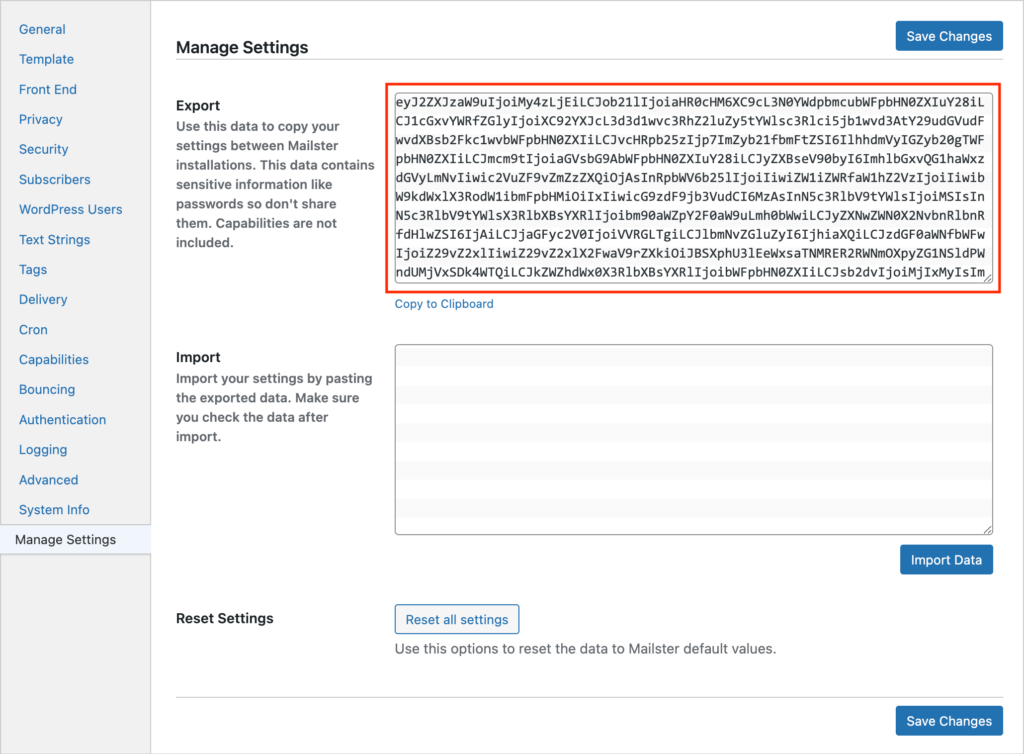
Export Settings
If you like to copy the settings over to your new site you can goto Newsletter => Settings => Manage Settings and copy the lines in the “Export” textarea
Deactivate your license
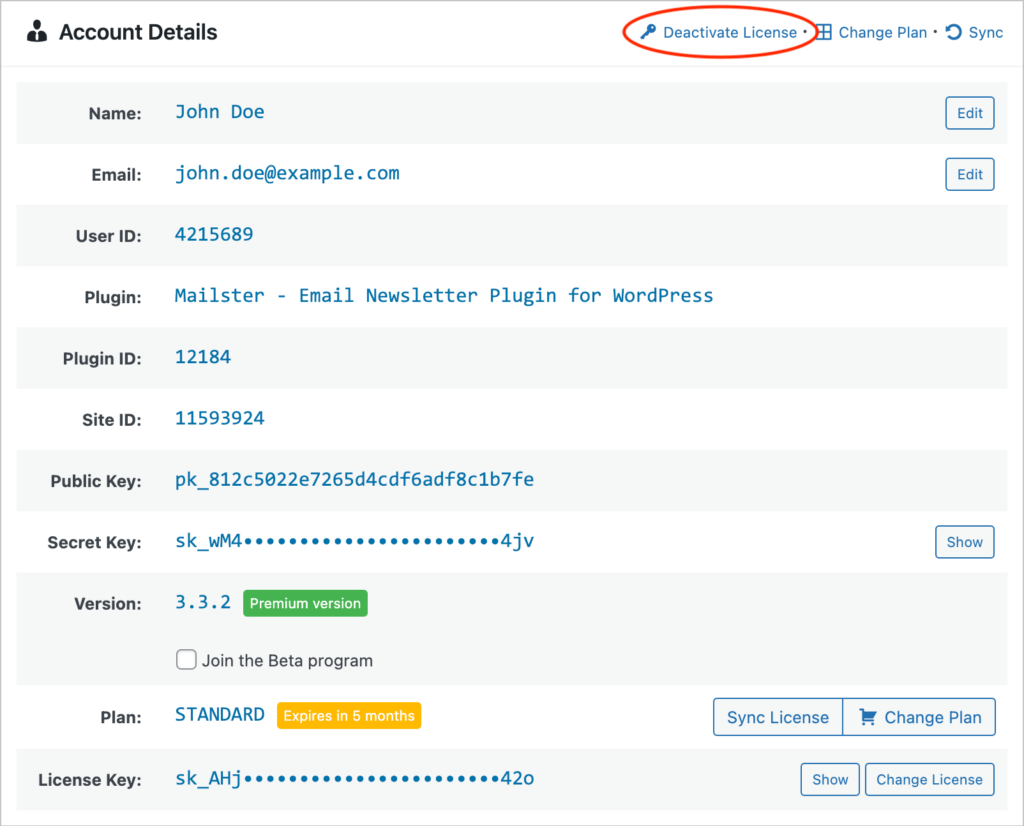
On Site A go to Newsletter => Account and click on “Deactivate License”. Once you deactivate the license you can no longer use Mailster on the current site.
Install Mailster on your new Site
Head over to Site B and install Mailster. Follow this guide if you have trouble.
Import Campaigns
Similar to the export you can now import the campaigns on Site B. Go To Tools => Import and choose the WordPress Importer.
Mailster will check the IDs of the campaigns to see if they have changed and remap them automatically.
Import Settings
On the Manage Settings page, you can finally import the settings you have exported from Site A into Site B. Please make sure all the settings are in place and update them if needed.